👉🏻1. OpenSSH 서버 설치 / Server Insall
✔️기본적으로 Xubuntu는 SSH 서버가 설치되어 있지 않습니다.
터미널을 열고 아래 명령어를 실행합니다.
By default, Xubuntu doesn’t have an SSH server installed.
Open a terminal and run the following command:
sudo apt update
sudo apt install openssh-server
👉🏻2. SSH 서비스 시작 및 자동 시작 설정
Start the SSH service and set it to start automatically.
✔️ 설치 후 SSH 서비스가 자동으로 실행되지 않는 경우 아래처럼 실행하고 부팅 시 자동으로 시작되게 설정합니다.
If the SSH service does not start automatically after installation, run it as shown below and set it to start automatically at boot time.
sudo systemctl enable --now ssh✔️ 설치 후 서비스 상태 확인하기
Check service status after installation
✔️ active (running) 상태이면 SSH가 잘 실행 중인 것입니다.
If it is active (running), SSH is running properly.
sudo systemctl status ssh👉🏻3. 방화벽 설정 (UFW) / Firewall Settings (UFW)
✔️ UFW(Uncomplicated Firewall)를 사용 중이라면 SSH 연결을 허용해줘야 합니다:
If you are using UFW (Uncomplicated Firewall), you will need to allow SSH connections:
sudo ufw allow ssh👉🏻4. (선택) SSH 설정 변경 / (Optional) Change SSH settings
✔️ 기본 설정은 보통 문제 없이 동작하지만, 필요하다면 설정 파일 /etc/ssh/sshd_config 를 편집할 수 있습니다.
The default configuration usually works without any problems, but if necessary, you can edit the configuration file /etc/ssh/sshd_config
sudo nano /etc/ssh/sshd_config✔️ 예를 들어 root 계정 접속 허용을 바꾸거나 포트 변경 등을 할 수 있습니다. 변경 후에는 서비스 재시작 합니다.
For example, you can change root account access permissions, change ports, etc. After making changes, restart the service.
sudo systemctl restart ssh👉🏻5. 접속 테스트 / Connection test
✔️ 터미널에서 다른 컴퓨터에서 다음처럼 접속해 봅니다
Try connecting from another computer in the terminal as follows
ssh 사용자명/username@Xubuntu_IP address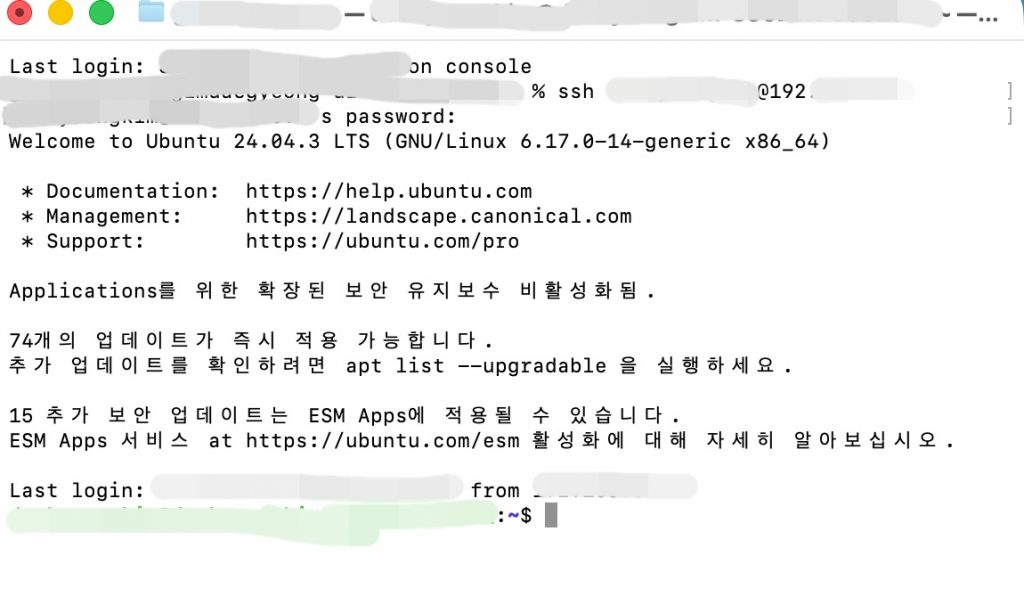
✔️ ssh 가 설치되면 sftp를 사용 할 수 있습니다.
Once ssh is installed, you can use sftp.
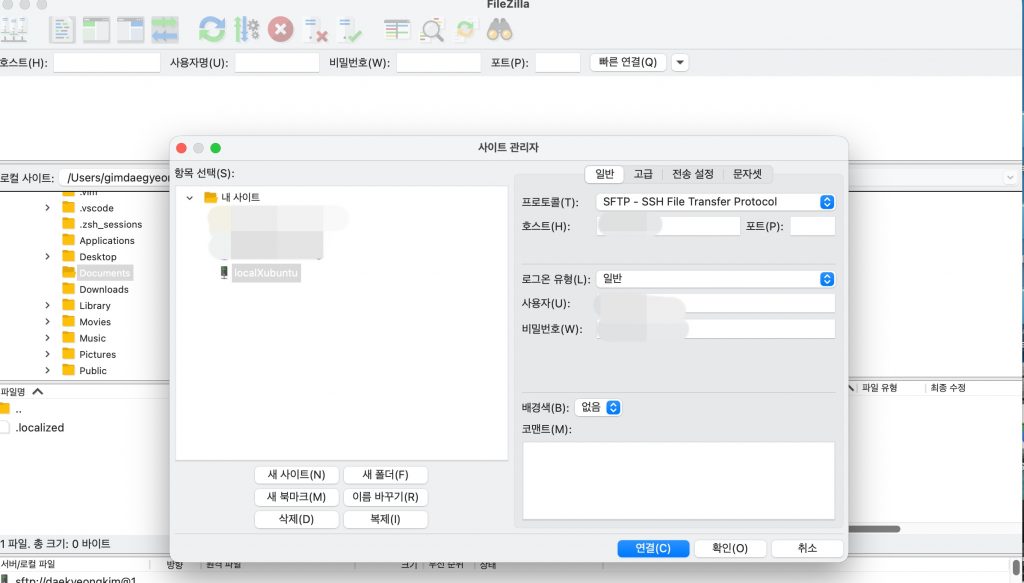
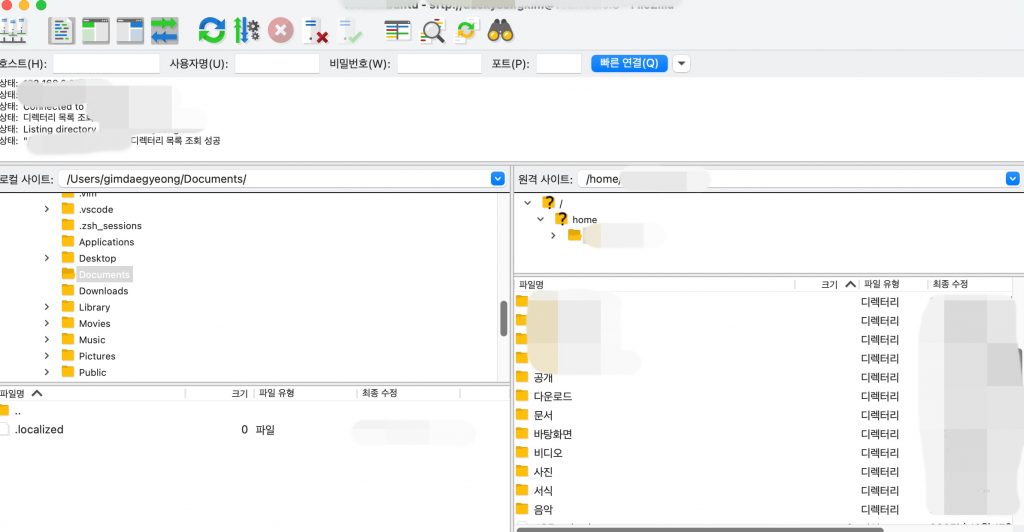
✔️ FileZilla Sftp 접속 완료
FileZilla Sftp connection completed
⭐️ 서버의 아이피 주소는 다음과 같이 확인 할 수 있습니다.
You can check the server’s IP address as follows
ip a또는 / or
hostname -I⭐️ 해당 아이피 주소에 연결되는지 확인 하려면 아래처럼 ping을 사용하시면됩니다.
To check if you can connect to that IP address, you can use ping as shown below.
ping IPAddresss