👉🏻 도커 데스크탑에서 쿠버네티스를 이용해서 멀티 노드를 구현하는 방법에 대한 설명입니다.
This is an explanation of how to implement multi-nodes using Kubernetes on Docker Desktop.
👉🏻 전체 노드는 컨트롤 플레인+워커노드2개로 구성합니다.
The entire node consists of a control plane + 2 worker nodes.
👉🏻 테스트 환경 / test environment
✔️ 램이 8기가 이상인 환경에서 클러스터를 구성하기를 추천합니다.
We recommend configuring the cluster in an environment with 8GB or more of RAM.
✔️ MacOS ,M3, RAM 16GB
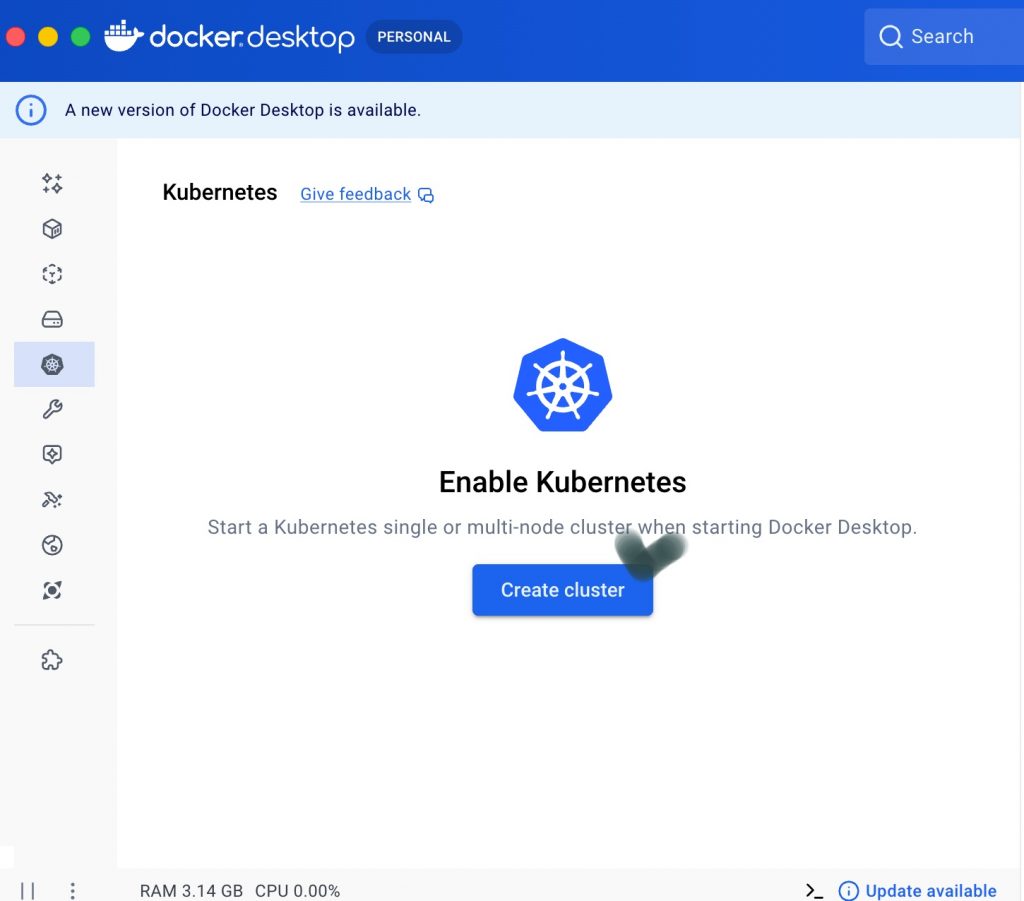
👉🏻 쿠버네티스 멀티 노드 클러스터를 설치합니다.
Install a Kubernetes multi-node cluster.
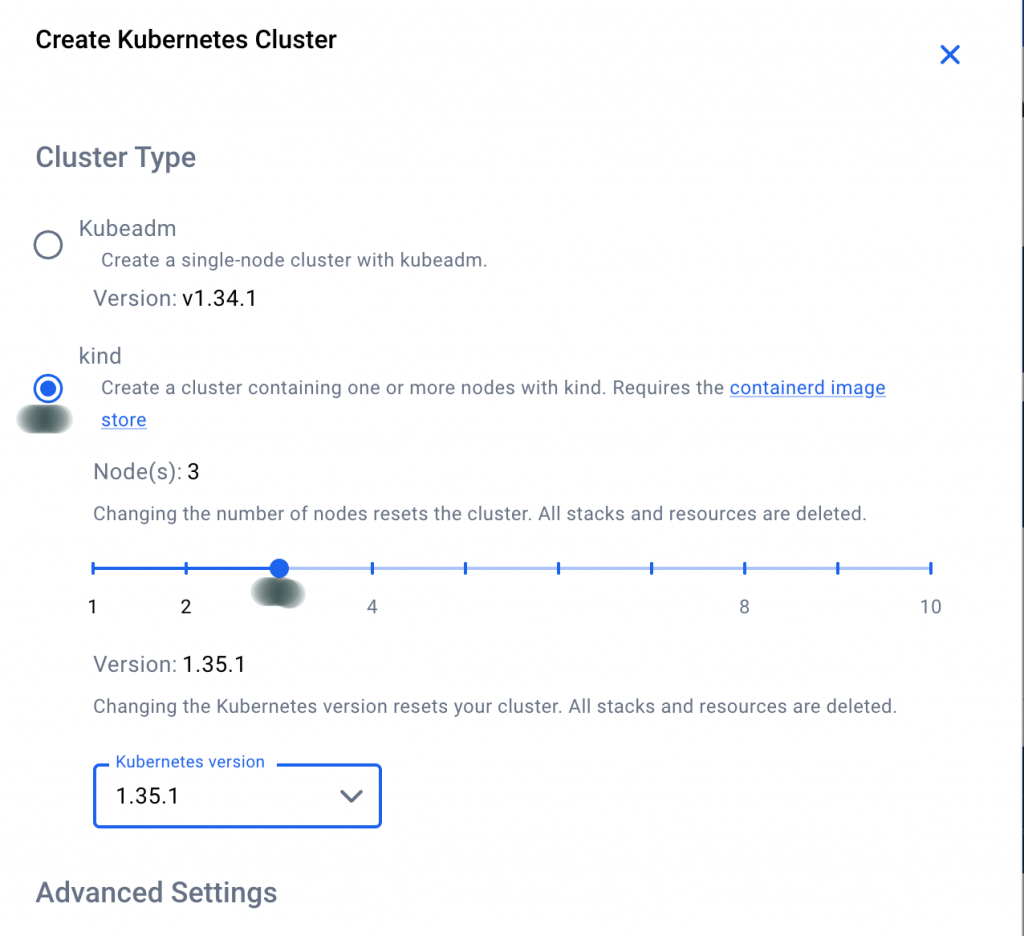
✔️ kind를 선택하고 Node를 3개 선택합니다.
Select kind and select 3 nodes.
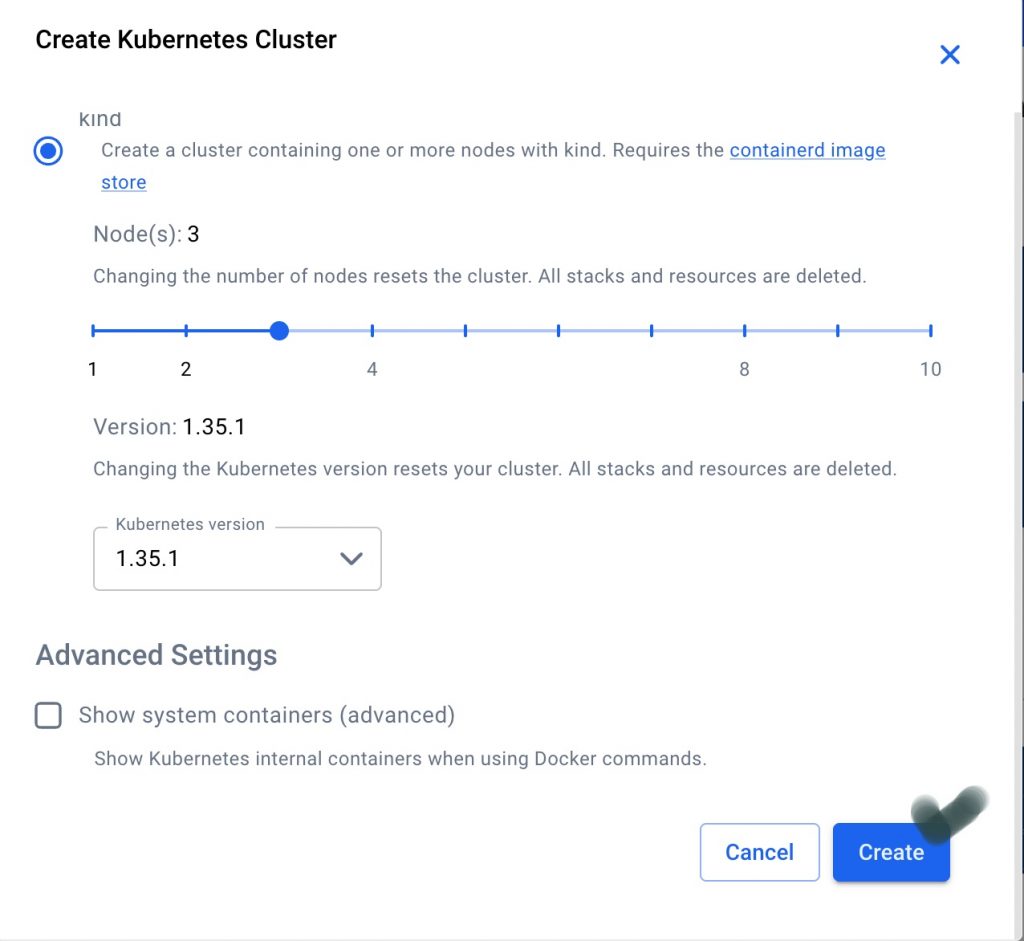
✔️ Create버튼을 클릭해서 클러스터를 생성합니다.
Click the Create button to create a cluster.
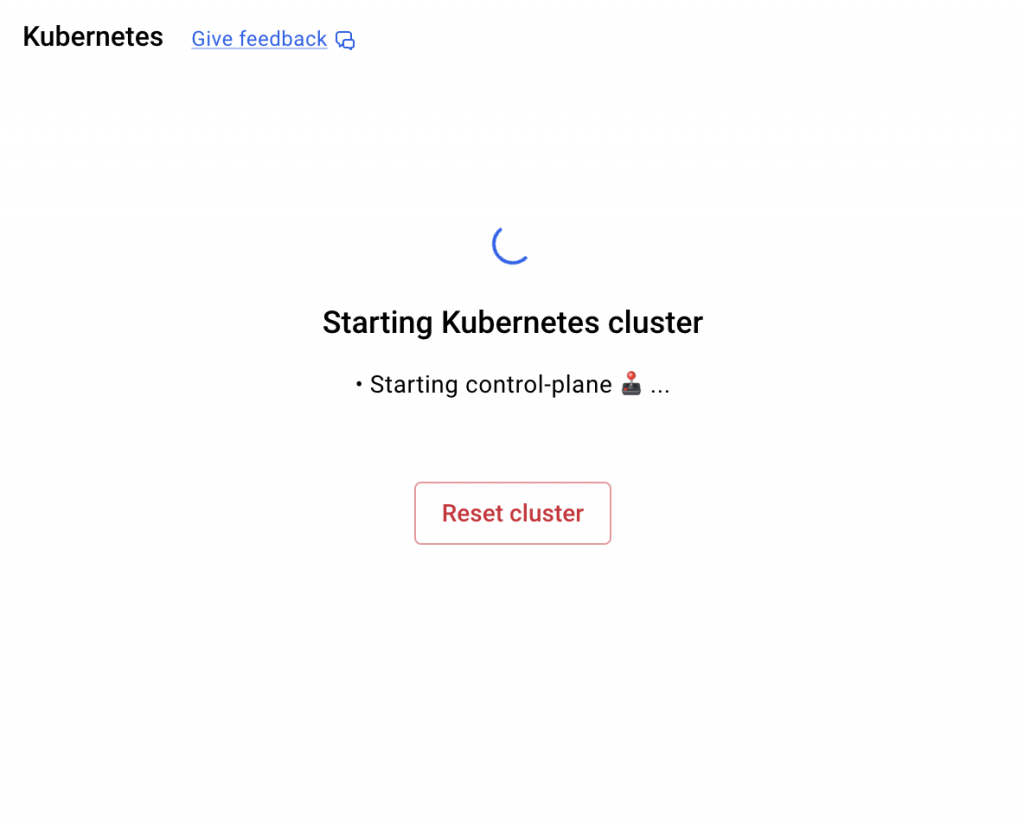
✔️ 쿠버네티스 클러스터 설치 / Kubernetees Cluster Installation
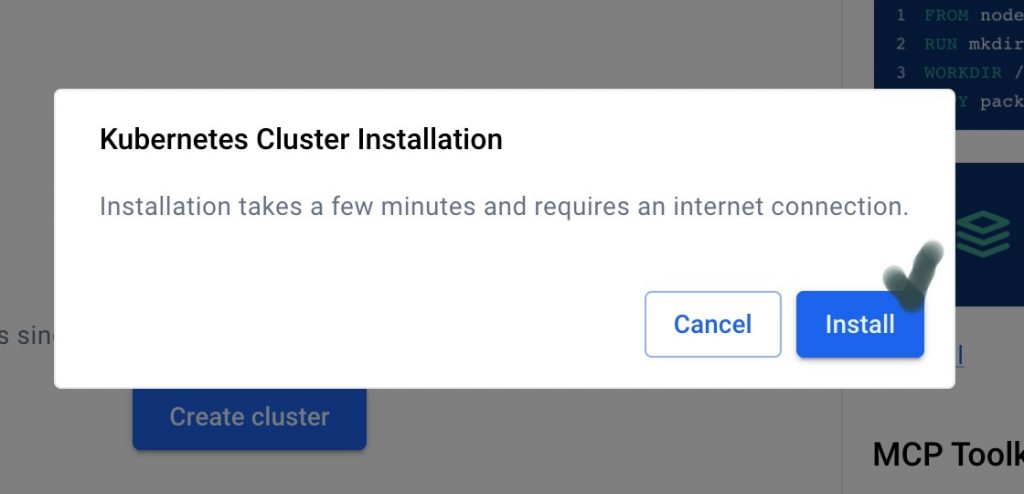
✔️ 설치 중 / installing
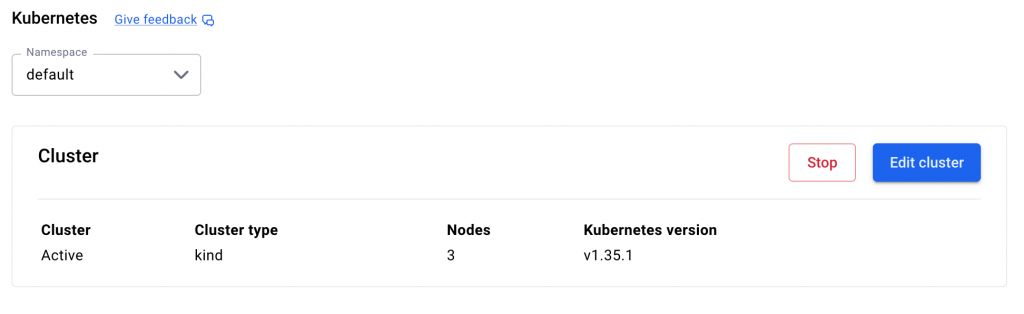
✔️ 클러스터 셋팅 완료 / Cluster setup complete
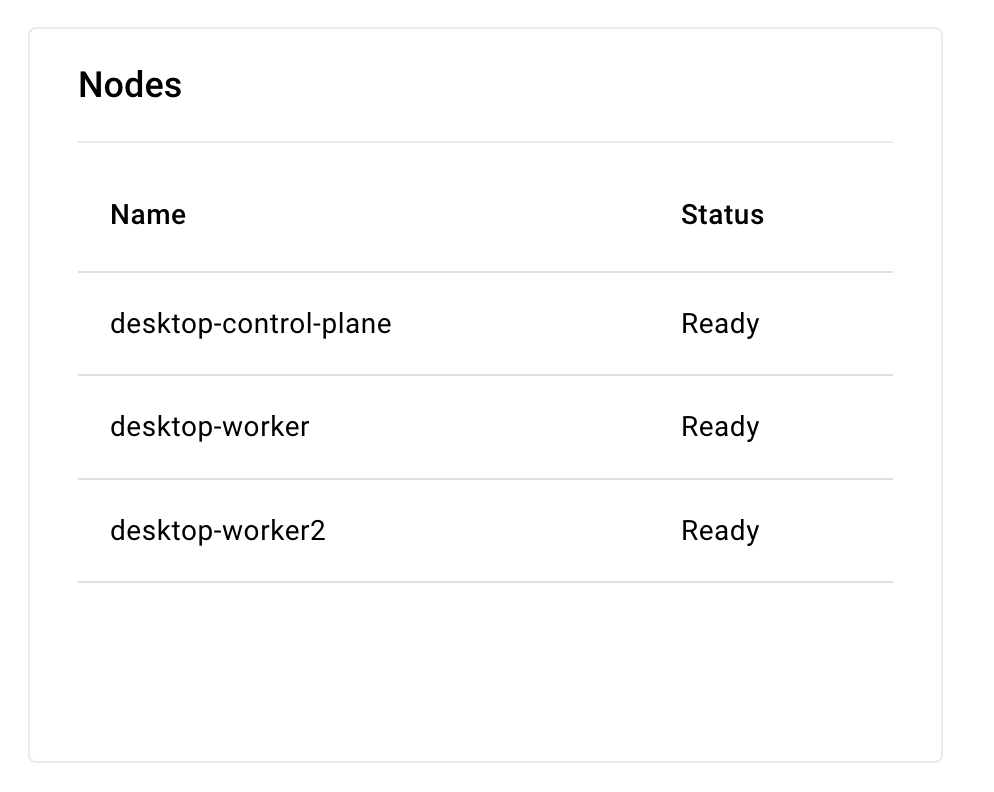
✔️ 노드 확인 / Check node status
— 아래 그림은 도커데스크탑에서 확인한 내용입니다. 터미널에서는 아래와 같이 확인 할 수 있습니다.
The image below shows the results verified in Docker Desktop. In the terminal, you can verify it as follows.
— 클러스터 버전은 1.35.1이고 내부 아이피는 172.18.0.2 ~ 172.18.0.4번까지 부여된것을 확인 할 수 있습니다.
You can confirm that the cluster version is 1.35.1 and internal IPs from 172.18.0.2 to 172.18.0.4 have been assigned.
MacBookAir ~ % kubectl get nodes -o wide

NAME                    STATUS   ROLES           AGE   VERSION   INTERNAL-IP   EXTERNAL-IP   OS-IMAGE                       KERNEL-VERSION     CONTAINER-RUNTIME
desktop-control-plane   Ready    control-plane   10m   v1.35.1   172.18.0.3    <none>        Debian GNU/Linux 13 (trixie)   6.12.69-linuxkit   containerd://2.2.1
desktop-worker          Ready    <none>          10m   v1.35.1   172.18.0.2    <none>        Debian GNU/Linux 13 (trixie)   6.12.69-linuxkit   containerd://2.2.1
desktop-worker2         Ready    <none>          10m   v1.35.1   172.18.0.4    <none>        Debian GNU/Linux 13 (trixie)   6.12.69-linuxkit   containerd://2.2.1
— 도커 데스크탑에서 노드 상태 확인한 경우
If you checked the node status in Docker Desktop
👉🏻 여기까지 하면 클러스터 설치가 끝납니다.
Once you get to this point, the cluster installation is complete.
👉🏻 쿠버네티스에 Nginx를 설치해 봅니다.
Let’s try installing Nginx on Kubernetes.
✔️ deployment 생성 / Create deployment
— deployment를 생성하면 pod이 함께 생성됩니다.
When you create a deployment, a pod is created along with it.
— deployment를 생성합니다.이름은 my-app이고 image=nginx입니다.
Create a deployment. The name is my-app and image=nginx.
MacBookAir ~ % kubectl create deployment my-app --image=nginx
deployment.apps/my-app created
— deployment를 확인하면 다음처럼 나오면 정상입니다.
If you check the deployment and it appears as follows, it is normal.
MacBookAir ~ % kubectl get deployment
NAME     READY   UP-TO-DATE   AVAILABLE   AGE
my-app   1/1     1            1           4m2s
— 그런데 아래처럼 deployment와 pod을 확인하면 “READE 0/1”, “ImagePullBackOff”로확인되는 경우가 있습니다.
However, if you check the deployment and pod as shown below, there are cases where they are confirmed as “READE 0/1” and “ImagePullBackOff”.
MacBookAir ~ % kubectl get deployment
NAME     READY   UP-TO-DATE   AVAILABLE   AGE
my-app   0/1     1            0           19s
MacBookAir ~ % kubectl get pods
NAME                     READY   STATUS             RESTARTS   AGE
my-app-64b78bfff-7v7rc   0/1     ImagePullBackOff   0          23s
— 위의 경우가 발생하면 rollout restart로 pod을 하나씩 새로 만들고 교체합니다.
If the above case occurs, create new pods one by one and replace them using a rollout restart.
MacBookAir ~ % kubectl rollout restart deployment my-app⭐️ pod상제정보 보기 / View Pod Information
MacBookAir ~ % kubectl describe pod my-app-64b78bfff-7v7rc— 다시 deployment정보를 확인하면 아래처럼 나옵니다.
If you check the deployment information again, it appears as shown below.
MacBookAir ~ % kubectl get deployment
NAME     READY   UP-TO-DATE   AVAILABLE   AGE
my-app   1/1     1            1           4m2s
👉🏻 deployment를 외부에 노출 하도록 서비스를 생성합니다.
Create a service to expose the deployment externally.
— 서비스의 종류를 NodePort로 설정하고 서비스포트는 80번으로 설정합니다.
Set the service type to NodePort and the service port to 80.
— 모든 워커 노드의 특정 포트(예: 31515)를 개방하여, “노드 IP:포트” 주소로 접속하면 해당 Pod로 연결해 줍니다.
By opening a specific port (e.g., 31515) on all worker nodes, connecting to the corresponding Pod via the “node IP:port” address will connect you.
— 쿠버네티스는 보통 30000~32767 사이의 포트 중 하나를 무작위로 할당합니다.
Kubernetes usually assigns one of the ports between 30000 and 32767 randomly.
MacBookAir ~ % kubectl expose deployment my-app --type=NodePort --port=80— 서비스가 제대로 생성되었는지 확인합니다.
Check if the service was created properly.
MacBookAir ~ % kubectl get svc
NAME         TYPE        CLUSTER-IP      EXTERNAL-IP   PORT(S)        AGE
kubernetes   ClusterIP   10.96.0.1       <none>        443/TCP        9m
my-app       NodePort    10.96.177.193   <none>        80:31515/TCP   37s
👉🏻 워크 내부에서 nginx접속테스트 / Nginx connection test inside the workspace
— 워커 노드에 접속하기 / Connect to the worker node
-MacBookAir ~ % docker exec -it desktop-worker bash— 워커 노드2에 접속하기 / Connect to Worker Node 2
-MacBookAir ~ % docker exec -it desktop-worker2 bash— 워커 노드 내부에서 테스트하기(curl localhost:31515 또는 curl 172.18.0.2:31515)
Testing inside a worker node (curl localhost:31515 or curl 172.18.0.2:31515)
— 워커노드2 내부에서 테스트 할 경우 아이피 주소는 curl 172.18.0.4:31515 입니다.
When testing inside Worker Node 2, the IP address is curl 172.18.0.4:31515.
root@desktop-worker:/# curl localhost:31515
<!DOCTYPE html>
<html>
<head>
<title>Welcome to nginx!</title>
<style>
html { color-scheme: light dark; }
body { width: 35em; margin: 0 auto;
font-family: Tahoma, Verdana, Arial, sans-serif; }
</style>
</head>
<body>
<h1>Welcome to nginx!</h1>
<p>If you see this page, nginx is successfully installed and working.
Further configuration is required for the web server, reverse proxy,
API gateway, load balancer, content cache, or other features.</p>

<p>For online documentation and support please refer to
<a href="https://nginx.org/">nginx.org</a>.<br/>
To engage with the community please visit
<a href="https://community.nginx.org/">community.nginx.org</a>.<br/>
For enterprise grade support, professional services, additional
security features and capabilities please refer to
<a href="https://f5.com/nginx">f5.com/nginx</a>.</p>

<p><em>Thank you for using nginx.</em></p>
</body>
</html>
root@desktop-worker:/# exit
exit
— 노드 아이피 주소 확인 하기 / Checking Node IP Address
MacBookAir ~ % kubectl get nodes -o wide
NAME STATUS ROLES AGE VERSION INTERNAL-IP EXTERNAL-IP OS-IMAGE KERNEL-VERSION CONTAINER-RUNTIME
desktop-control-plane Ready control-plane 10m v1.35.1 172.18.0.3 <none> Debian GNU/Linux 13 (trixie) 6.12.69-linuxkit containerd://2.2.1
desktop-worker Ready <none> 10m v1.35.1 172.18.0.2 <none> Debian GNU/Linux 13 (trixie) 6.12.69-linuxkit containerd://2.2.1
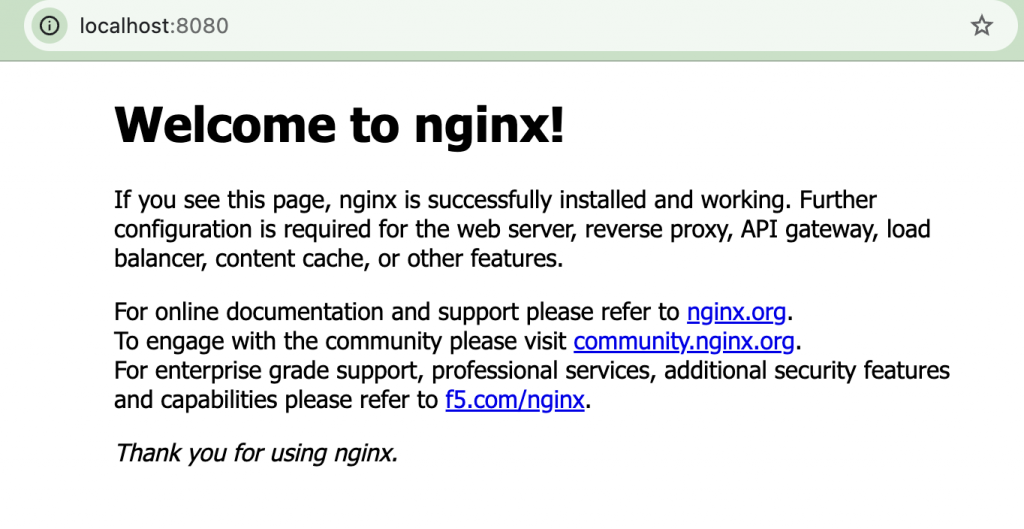
desktop-worker2 Ready <none> 10m v1.35.1 172.18.0.4 <none> Debian GNU/Linux 13 (trixie) 6.12.69-linuxkit containerd://2.2.1👉🏻브라우저 접속하기 / Access browser
— 브라우저에서 8080번으로 접속할때 my-app의 80번서비스에 접속설정
Connection settings for the 80-service in my-app when accessing 8080 from the browser
MacBookAir ~ % kubectl port-forward svc/my-app 8080:80

Forwarding from 127.0.0.1:8080 -> 80
Forwarding from [::1]:8080 -> 80
Handling connection for 8080
— 브라우저에서 접속하기 / Access from browser
👉🏻 클러스터 셋팅 삭제 / Delete cluster settings
MacBookAir ~ % kubectl delete service my-app
MacBookAir ~ % kubectl delete deployment my-app