google drive : https://drive.google.com/drive/folders/1PBYPqnrrp05J8CDE9egIfLMbiMoqQtuZ?usp=share_link
1.커스텀 버튼 / Custom Button
app/FlmButton.js : 커스텀 버튼 ReactNative CLI에서도 사용가능 /
Custom Buttons are also available in ReactNative CLI
2.파일 기반 라우팅 / File-based routing
— # npm run reset-project 실헹 후 사용한 코드입니다.
This is the code used after executing # npm run reset-project.
— project folder/app/_layout.js파일 사용 ,반드시 _layout.tsx 또는 _layout.js파일이어야 합니다.
Use project folder/app/_layout.js file, it must be _layout.tsx or _layout.js file.
— _layout.js파일 코드내에서 “Stack.Screen name=”App”은 App.js 파일과 이름이 같아야 합니다.
In the _layout.js file code, “Stack.Screen name=”App” must have the same name as the App.js file.
2.파일 기반 라우팅 / File-based routing
— # npm run reset-project 실헹 후 사용한 코드입니다.
This is the code used after executing # npm run reset-project.
— 아래는 _layout.js파일 / Below is the _layout.js file
import { Stack } from 'expo-router'; // expo router

export default function Layout() {
  return (
    <Stack>
      {/* Stack.Screen name="App"  == App.js file */}
      <Stack.Screen name="App" options={{ title: 'Home' }} />
      <Stack.Screen name="AppUI" options={{ title: 'Second' }} />
    </Stack>
  );
}
— project folder/app/_layout.js파일을 사용하고 ,반드시 _layout.tsx 또는 _layout.js파일이어야 합니다.
Use project folder/app/_layout.js file, it must be _layout.tsx or _layout.js file.
— _layout.js파일 코드내에서 “Stack.Screen name=”App”은 App.js 파일과 이름이 같아야 합니다.
In the _layout.js file code, “Stack.Screen name=”App” must have the same name as the App.js file.
— 기존의 ReactNative CLI의 코드를 사용하려면 복잡해지기 때문에 expo router를 쓰는게 간단합니다.
It’s simpler to use expo router because the existing ReactNative CLI code becomes complicated.
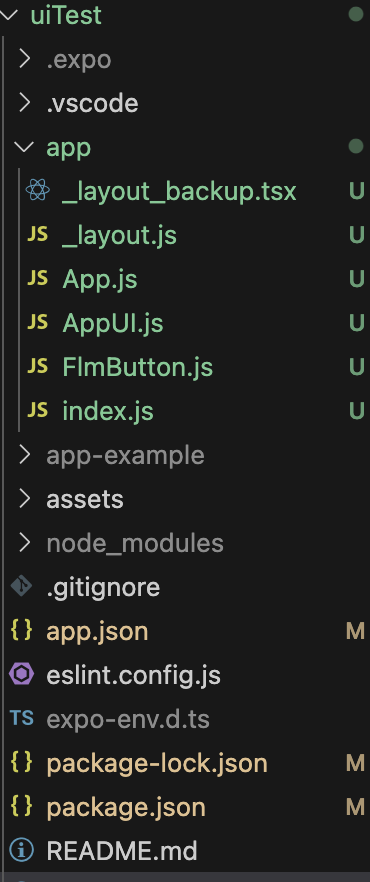
— 왼쪽은 프로젝트 디렉토리 리스트, 오른쪽은 앱실행화면 입니다.
On the left is the project directory list, and on the right is the app execution screen.