Esp32 webserver
👉🏻 아래는 간단한 웹서버 만드는 순서 입니다.
Below is the procedure for creating a simple web server.
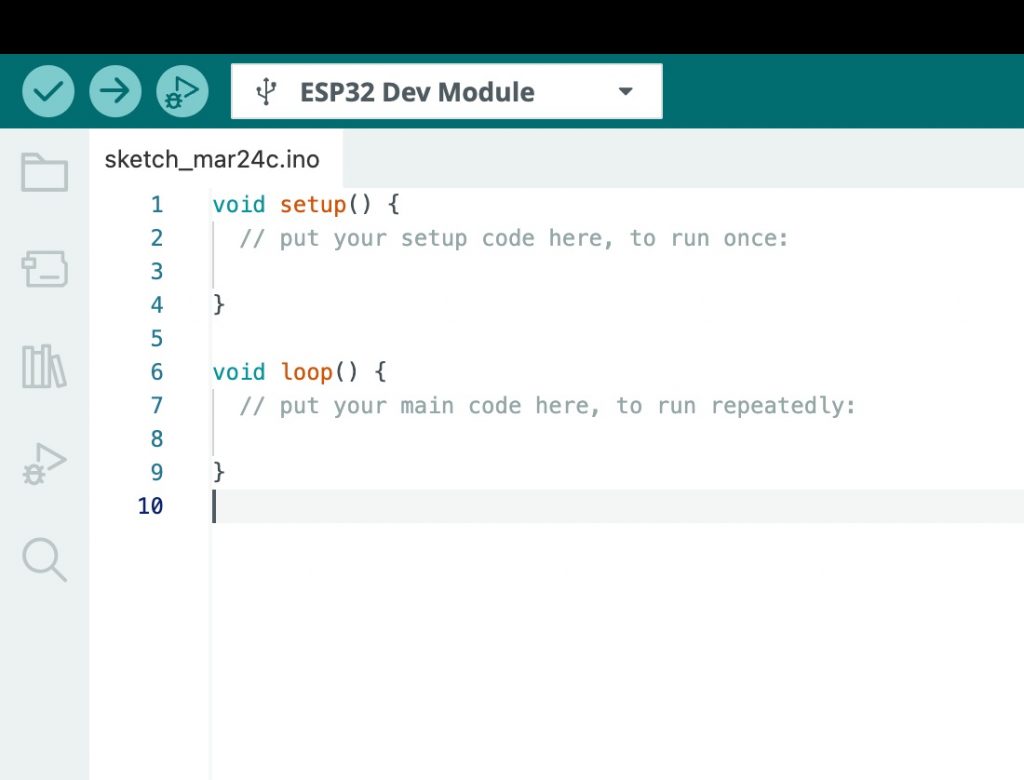
1)Arduino IDE에서 File -> New 선택
Select File -> New from Arduino IDE
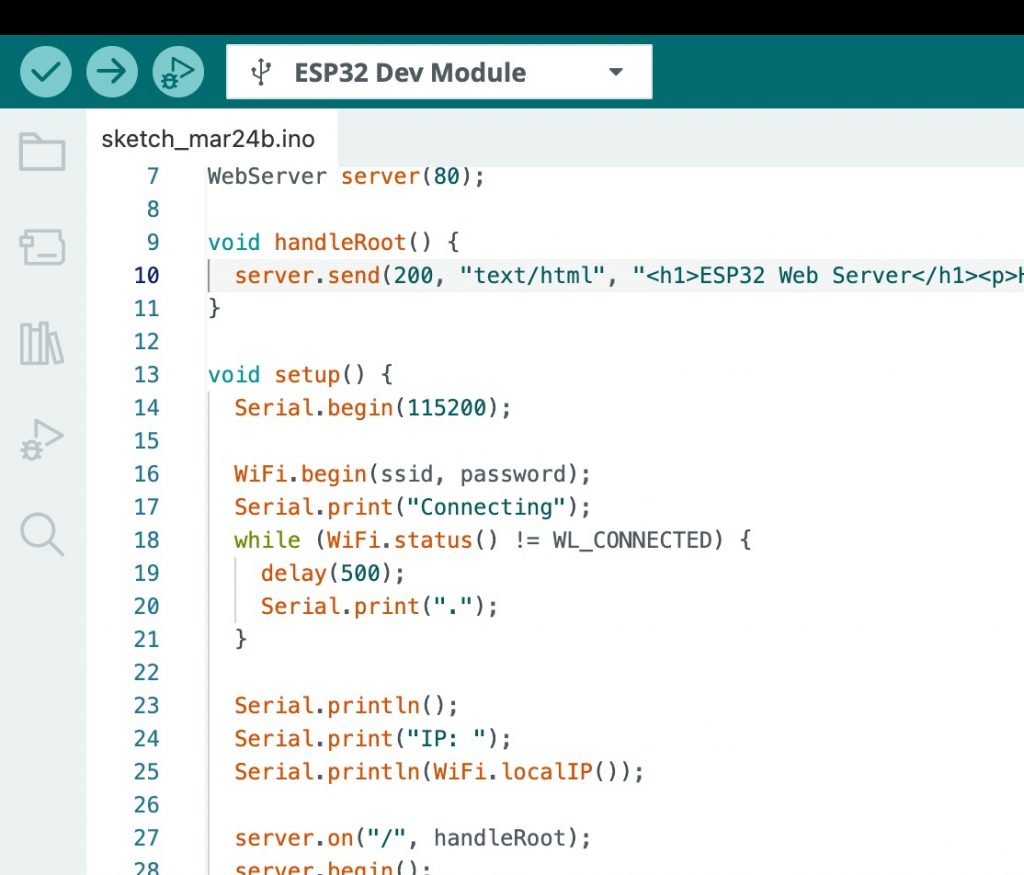
✔️ IDE에 아래의 코드를 추가합니다.
Add the code below to the IDE.
#include <WiFi.h>
#include <WebServer.h>

const char* ssid = "your_id";
const char* password = "your_password";

WebServer server(80);

void handleRoot() {
  server.send(200, "text/html", "<h1>ESP32 Web Server</h1><p>Hello Silver Hand!</p>");
}

void setup() {
  Serial.begin(115200);

  WiFi.begin(ssid, password);
  Serial.print("Connecting");
  while (WiFi.status() != WL_CONNECTED) {
    delay(500);
    Serial.print(".");
  }

  Serial.println();
  Serial.print("IP: ");
  Serial.println(WiFi.localIP());

  server.on("/", handleRoot);
  server.begin();
}

void loop() {
  server.handleClient();
}
✔️ 코드 추가하기 전 / Before adding code
✔️ 코드 추가 후 / After adding code
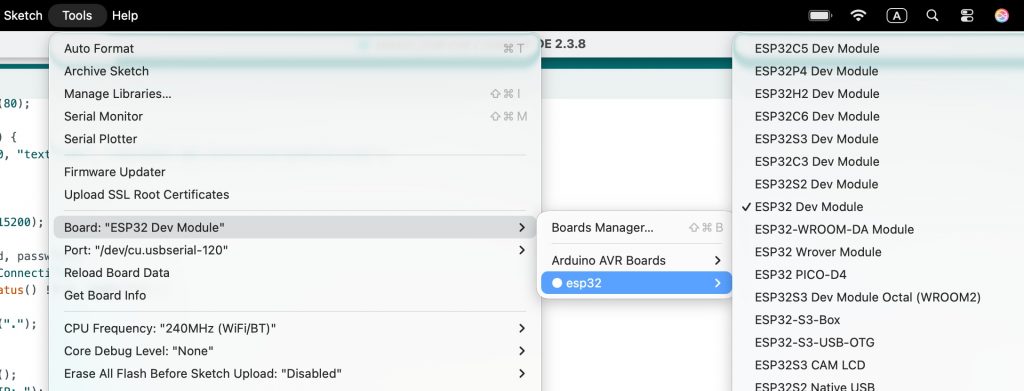
2)보드 선택 / Board selection:
Tools -> Board :” ESP32 Dev Module”->Esp32->Esp32 DevModule
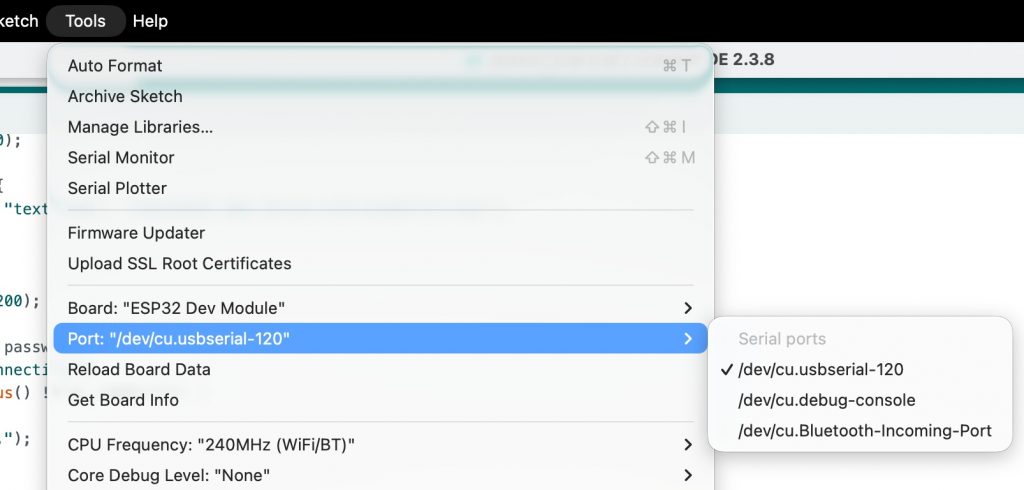
3)포트 선택/Select a port:
Tools -> Port에서 연결된 포트(Port:”/dev/cu.usbserial-120″)
4) 업로드 속도를 조정합니다./Adjust the upload speed.
Tools->UploadSpeed->11520
5)Wi‑Fi (공유기)정보입력/Enter ‑ WiFi (router) information:
ssid/password 입력 / Enter ssid/password
— Arduino IDE에서 코드를 수정합니다. / Modify the code in Arduino IDE.
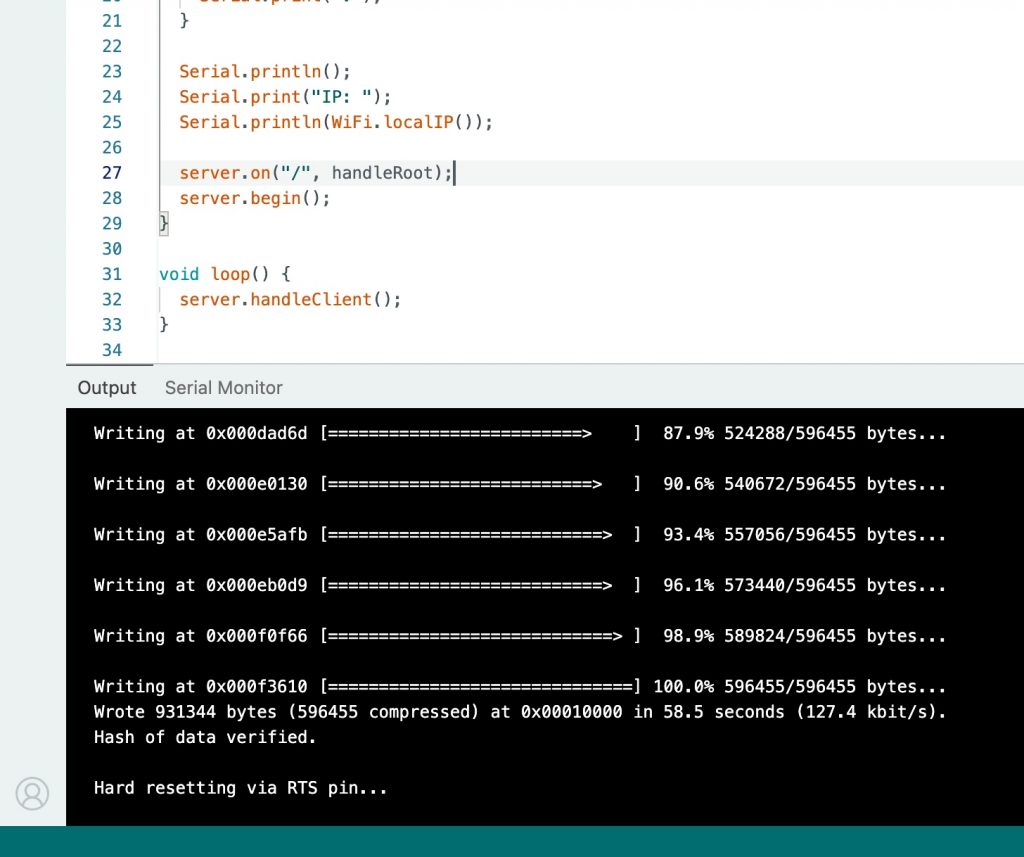
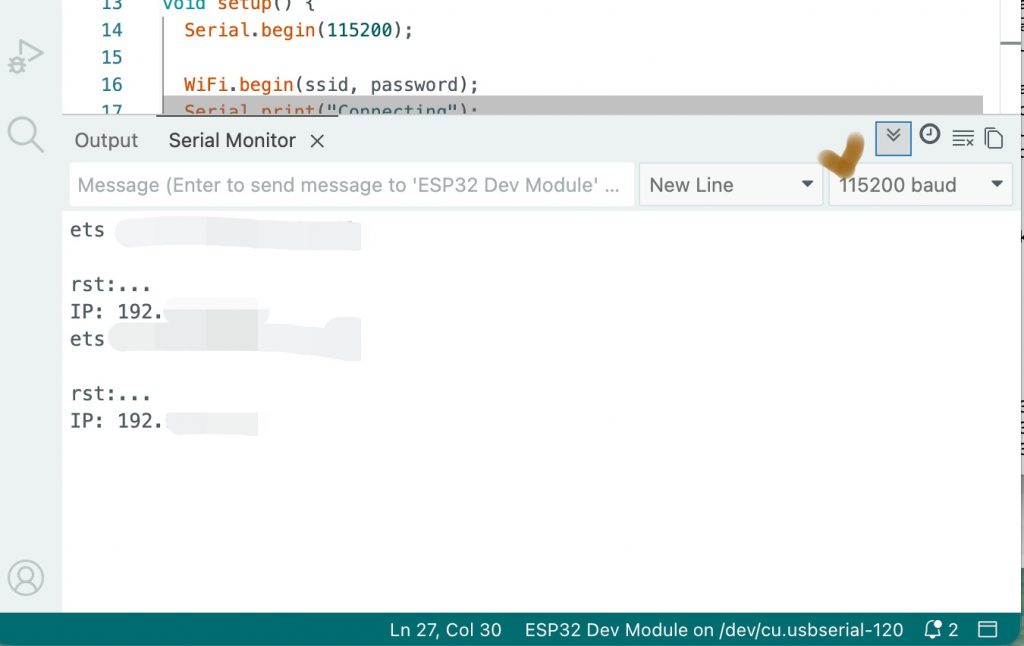
6)업로드 후, Tools -> Serial Monitor 열기 (115200 baud)
After upload, open Tools -> Serial Monitor (115200 baud)
✔️ 업로드 완료 / Upload completed
✔️ Serial Monitor에서 출력결과 확인 / Check the Output Results in Serial Monitor
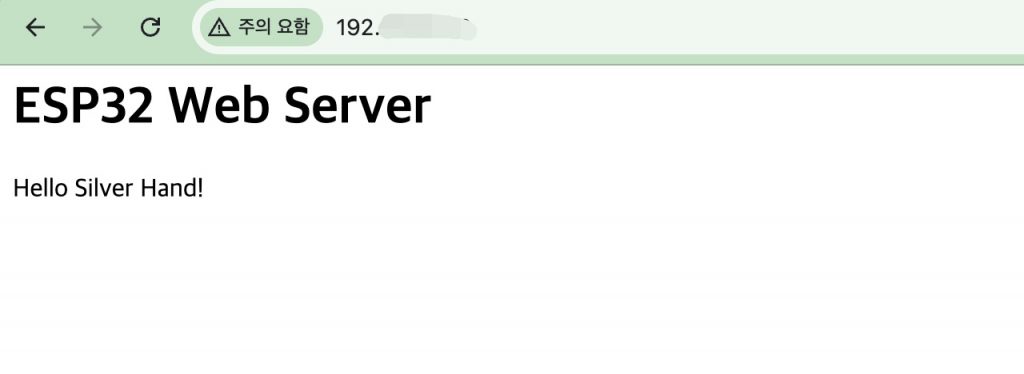
7)브라우저에서 접속 / Accessing from a browser
✔️ Serial Monitor에서 확인된 아이피주소로 브라우저에 접속합니다.
Access the browser with the IP address identified by Serial Monitor.