— QT사용시 프론트엔드 디자인을 QT Creator에서 widget으로 만들 수 있습니다.(기존 방식)
When using QT, you can create front-end designs as widgets in QT Creator (existing method).
— QML은 QT로 만들 앱의 디자인을 만드는 새로운 방식입니다.
QML is a new way to create designs for apps built with QT.
— QT Design Studio을 사용하면 직접 다 코딩하지않아도 QML Code를 생성 할 수 있습니다.
QT Design Studio lets you generate QML code without having to code it yourself.
— QT Design Studio는 Qt Creator설치할 때 이미 설치했습니다.
QT Design Studio was already installed when you installed Qt Creator.
— 설치 위치는 Qt Creator와 동일합니다.
The installation location is the same as Qt Creator.
1.QT Design Studio로 디자인 만들기 / Create designs with QT Design Studio
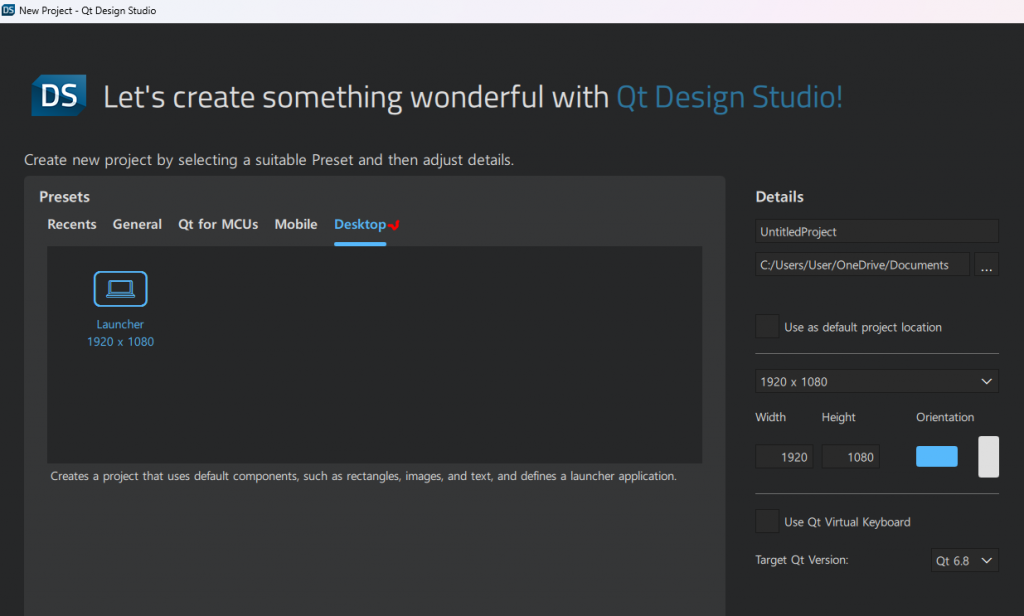
— QT Desing Studio 프로젝트 생성 : Desktop 선택하셔서 프로젝트 생성하시면 됩니다.
Create a QT Design Studio project: Select Desktop and create a project.
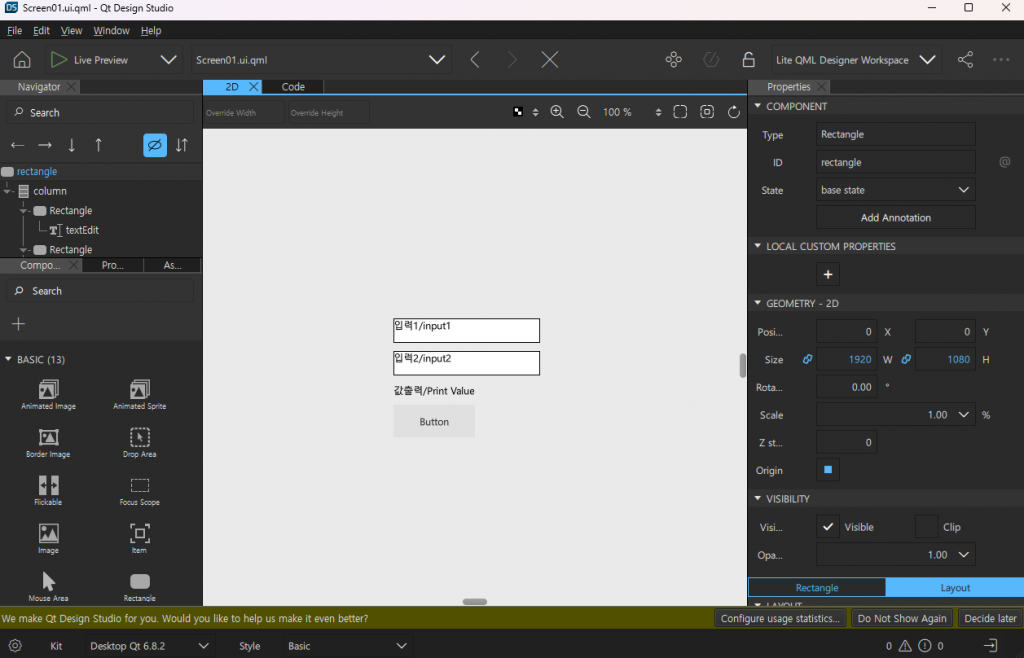
— 좌측 상단에 LIve Preview선택하시고 세모 아이콘을 클릭하시면 프리뷰를 보실 수 있습니다.
You can see the preview by selecting LIve Preview in the upper left corner and clicking the triangle icon.
— QT Desing Studio 좌측 메뉴에서 그냥 화면에 끌어도 놓으면 됩니다.
You can simply drag and drop it onto the screen from the left menu in QT Design Studio.
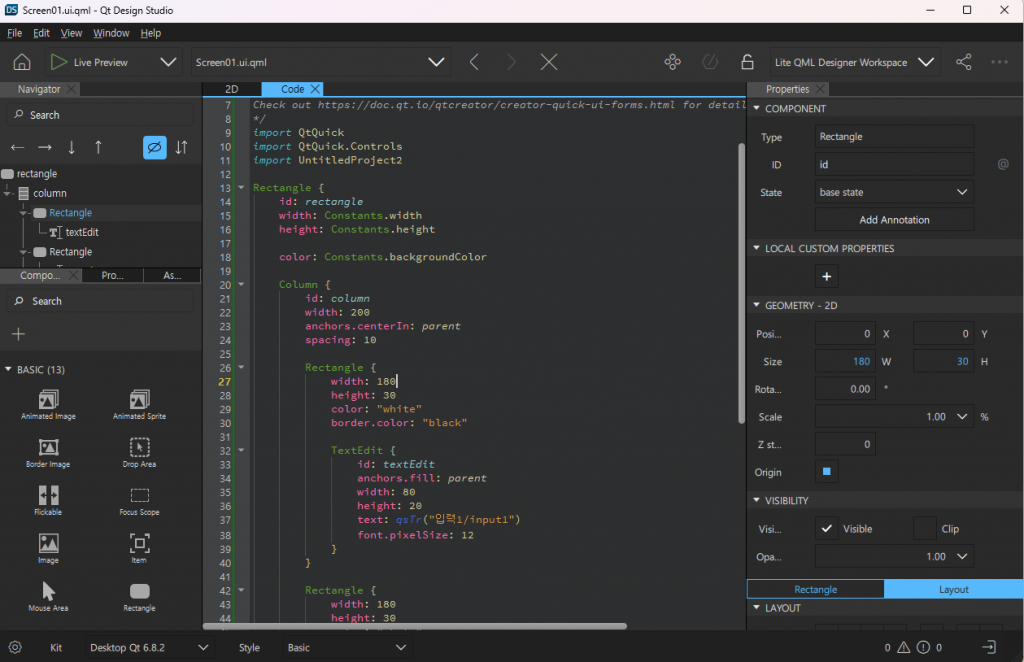
— 화면 구성이 잘 안되면 code탭에서 코드를 직접 수정하시면 됩니다.
If the screen configuration is not correct, you can directly edit the code in the code tab.
— 2D,Code탭이 안보이면 메뉴에서 VIew->Views에 보시면 2D,Code 체크 할 수 있습니다.
If you don’t see the 2D, Code tab, go to View->Views in the menu and check 2D, Code.
2.QT Creator에서 QML 적용하기 / Applying QML in QT Creator
— QT Design Studio 프로젝트 폴더에 가보시면 저의 경우는 이렇게 만들어져 있습니다.
If you go to the QT Design Studio project folder, in my case it is created like this.
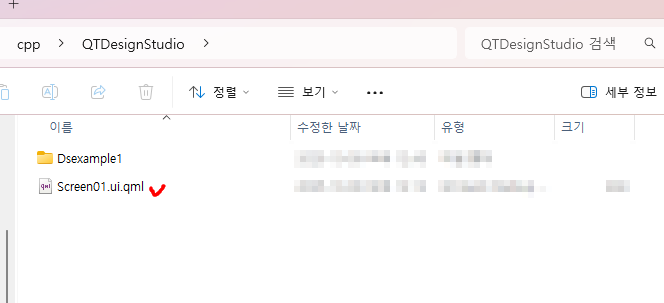
— Screen01.ui.qml이 파일을 QT Creator에서 사용하시면 됩니다.
You can use this file Screen01.ui.qml in QT Creator.
— 이 파일을 QT Creator에서 사용할 경우 Screen01.ui.qml 코드 수정이 필요 할 수도 있습니다.
If you use this file in QT Creator, you may need to modify the Screen01.ui.qml code.
— 여러분의 환경에 맞게 수정하시면 됩니다.
You can modify it to suit your environment.
1)QML파일 복사 및 디렉토리 정리 / Copy QML files and organize directories
— 위의 Screen01.ui.qml파일을 QT Creator프로젝트 디렉토리 내에 qml디렉토리를 만들고 파일을 붙여 넣습니다.
Create a qml directory within the QT Creator project directory and paste the reen01.ui.qml file.
— 디렉토리를 만들고 파일을 붙여넣어도 QT Creator에서는 보이지 않습니다.
Even if I create a directory and paste a file into it, it is not visible in QT Creator.
–QT Creator에 보이게 만들려면 CmakeLists.txt파일을 숴정해야 합니다.
You need to edit the CmakeLists.txt file to make it visible in QT Creator.

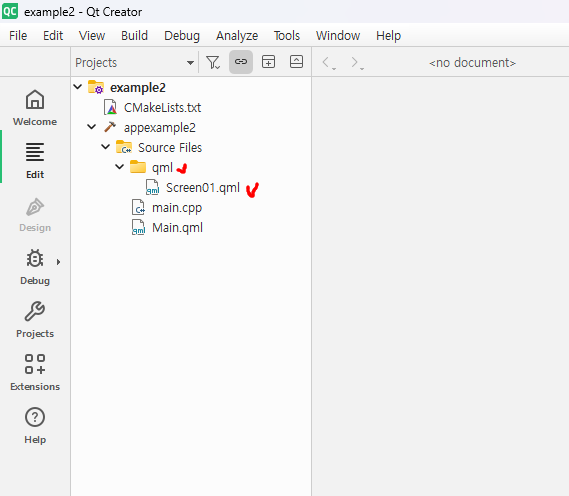
2)CmakeLists.txt 파일 수정 / Modify the CmakeLists.txt file
— CmakeLists.txt에 qml파일을 인식 할 수 있게 다음 내용을 추가 합니다.
Add the following to CmakeLists.txt to enable qml file recognition
— 파일을 수정하고 저장하면 프로젝트 창에 파일이 나타납니다.
When you edit and save a file, it will appear in the project window.
# qml 파일등록 / Registering qml file
qt_add_qml_module(appexample2
    URI example2
    VERSION 1.0
    QML_FILES
        Main.qml
        qml/Screen01.qml
)
3)Main.qml파일 수정 / Modify the Main.qml file
import QtQuick

Window {
    width: 640
    height: 480
    visible: true
    title: qsTr("Hello World")

    // UI 파일 로딩 / UI file loading
    Loader {
        anchors.fill: parent
        source: "qml/Screen01.qml"
    }
}
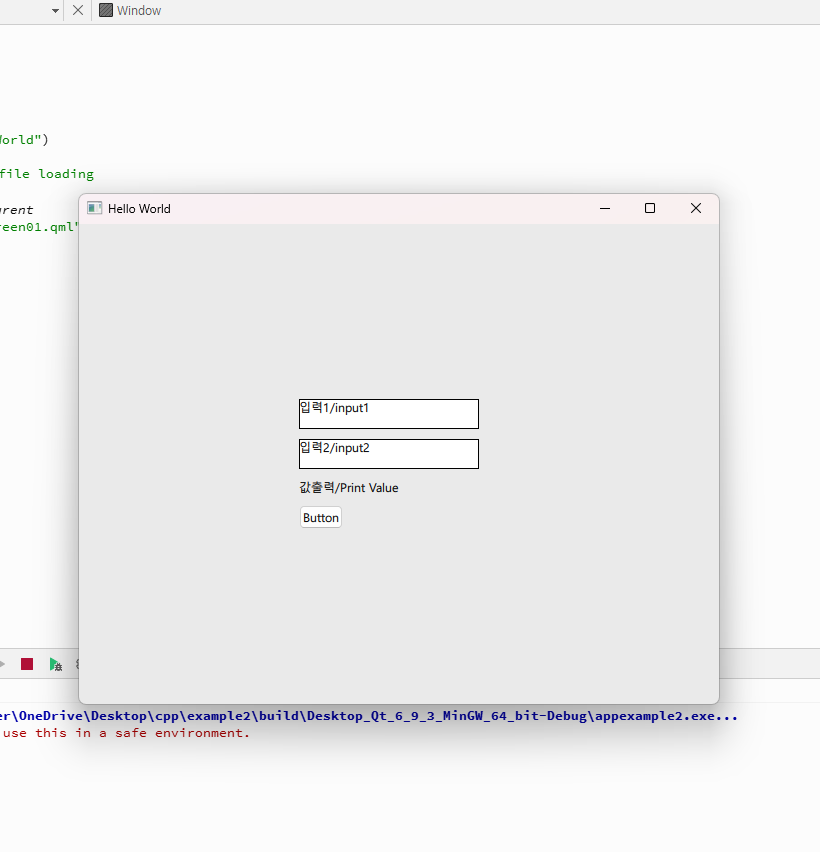
3.실행 / run
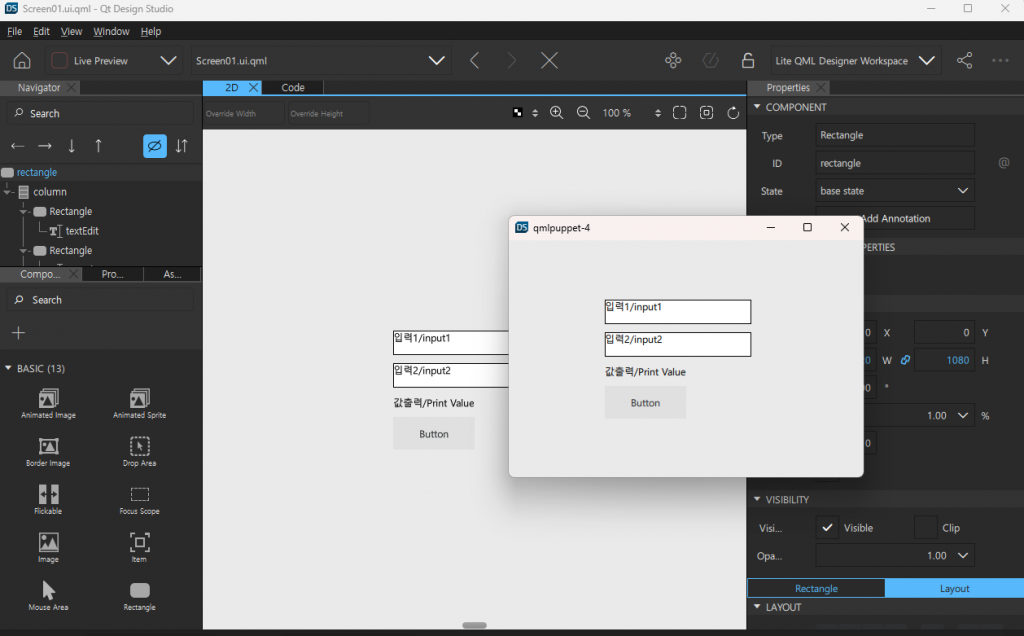
— 빌드하면 이렇게 화면에 프로그램이 실행되는 모습을 볼 수 있습니다.
When you build, you will see the program running on the screen like this.
4.전체코드 / Full Code
— qml/Screen01.qml
/*
This is a UI file (.ui.qml) that is intended to be edited in Qt Design Studio only.
It is supposed to be strictly declarative and only uses a subset of QML. If you edit
this file manually, you might introduce QML code that is not supported by Qt Design Studio.
Check out https://doc.qt.io/qtcreator/creator-quick-ui-forms.html for details on .ui.qml files.
*/
import QtQuick
import QtQuick.Controls

/*-- 파일을 인식 못함 --*/
// Constants.qml파일을 불러오기
//import "Settings.qml" as Constants

Rectangle {
    // id: rectangle
    // width: Constants.width
    // height: Constants.height

    // color: Constants.backgroundColor

    // 상수 직접 선언
    property int widthConst: 1920
    property int heightConst: 1080
    property color backgroundColorConst: "#EAEAEA"

    width: widthConst
    height: heightConst
    color: backgroundColorConst

    Column {
        id: column
        width: 200
        anchors.centerIn: parent
        spacing: 10

        Rectangle {
            width: 180
            height: 30
            color: "white"
            border.color: "black"

            TextEdit {
                id: textEdit
                anchors.fill: parent
                width: 80
                height: 20
                text: qsTr("입력1/input1")
                font.pixelSize: 12
            }
        }

        Rectangle {
            width: 180
            height: 30
            color: "white"
            border.color: "black"

            TextEdit {
                id: textEdit2
                width: 80
                height: 20
                text: qsTr("입력2/input2")
                font.pixelSize: 12
            }
        }

        Text {
            id: text1
            text: qsTr("값출력/Print Value")
            font.pixelSize: 12
        }

        Button {
            id: button
            text: qsTr("Button")
        }
    }
}
— main.cpp
#include <QGuiApplication>
#include <QQmlApplicationEngine>

int main(int argc, char *argv[])
{
    QGuiApplication app(argc, argv);

    QQmlApplicationEngine engine;
    QObject::connect(
        &engine,
        &QQmlApplicationEngine::objectCreationFailed,
        &app,
        []() { QCoreApplication::exit(-1); },
        Qt::QueuedConnection);
    engine.loadFromModule("example2", "Main");

    return app.exec();
}
— Main.qml
import QtQuick

Window {
    width: 640
    height: 480
    visible: true
    title: qsTr("Hello World")

    // UI 파일 로딩 / UI file loading
    Loader {
        anchors.fill: parent
        source: "qml/Screen01.qml"
    }
}
