👉🏻 리액트네이티브 Expo는 자바스크립트로 모바일 앱을 만들 수 있는 도구입니다.
React Native Expo is a tool that allows you to build mobile apps with JavaScript.
👉🏻 nodejs환경에서 실행되기때문에 nodejs를 반드시 설치해야합니다.
Since it runs in a Node.js environment, you must install Node.js.
https://nodejs.org/ko/download
👉🏻 Watchman설치는 권장합니다. 코드 변경사항을 실시간 감지합니다.
Installing Watchman is recommended. It detects code changes in real time.
brew install watchman👉🏻 Expo GO 앱 설치 / Install Expo Go
✔️ 여러분의 모바일 폰에 앱스토어나 플레이스토어에서 Expo Go 앱을 설치합니다.
Install the Expo Go app from the App Store or Play Store on your mobile phone.
👉🏻 1.프로젝트 시작 / project start
✔️ 터미널에서 아래의 명령어를 실행하면 expo 프로젝트를 설치합니다.
Install the expo project by running the following command in the terminal.
✔️ 앱이름을 물어보면 입력하면됩니다. 저는 start-app으로 합니다.
If it asks for the app name, just enter it. I use ‘start-app’.
npx create-expo-app@latest
...
✔ What is your app named? … start-app
2.엑스포 실행 / run expo app
✔️ 생성된 프로젝트 디렉토리로 이동합니다.(중요함!)
Navigate to the created project directory. (Important!)
cd start-app✔️ 터미널에서 아래의 명령어를 입력하면 QR코드가 실행됩니다.
Enter the following command in the terminal to run the QR code.
npx expo start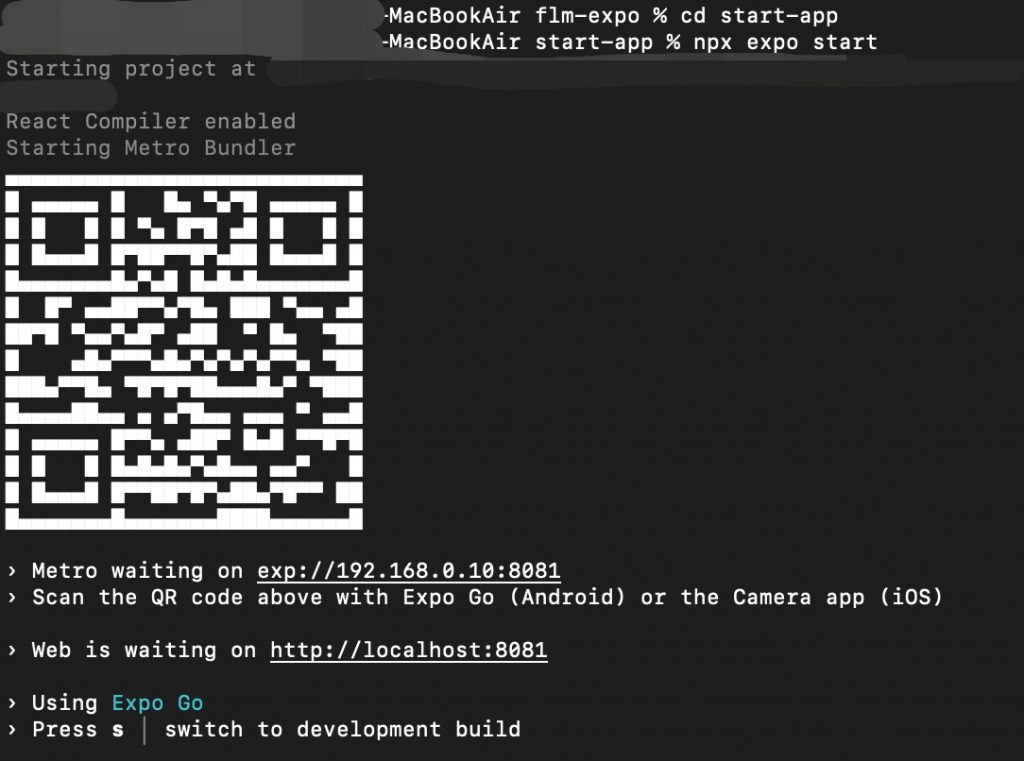
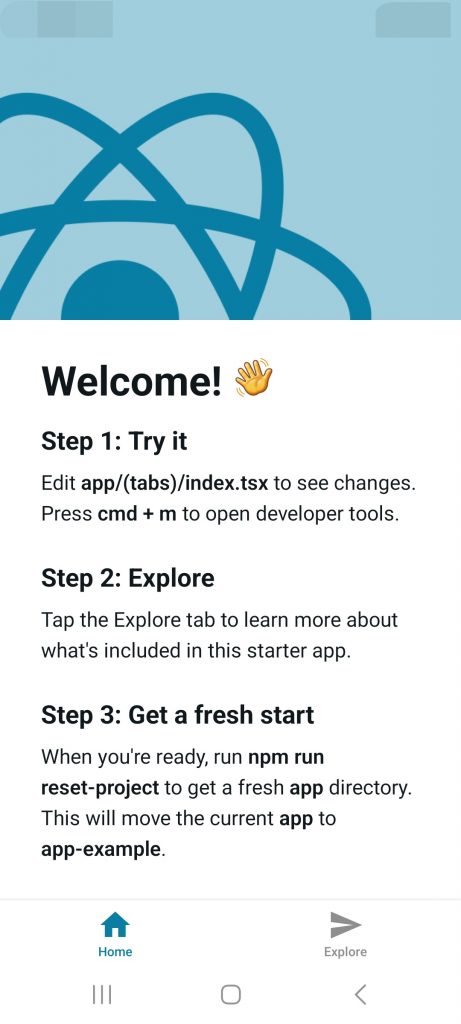
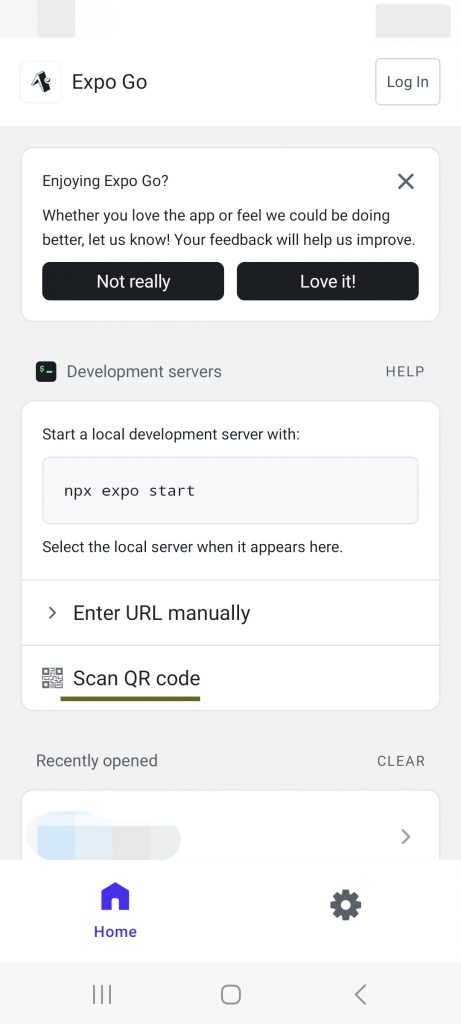
✔️ 모바일 폰에서 Expo Go 앱으로 QR코드를 스캔하면 기본 앱화면을 볼 수 있습니다.
You can view the main app screen by scanning the QR code with the Expo Go app on your mobile phone.
3.프로젝트 리셋 / project reset
✔️ 기존의 프로젝트를 완전히 리셋합니다.
Completely reset the existing project.
npm run reset-projectMacBookAir start-app % npm run reset-project
> start-app@1.0.0 reset-project
> node ./scripts/reset-project.js
Do you want to move existing files to /app-example instead of deleting them? (Y/n): y
📁 /app-example directory created.
➡️ /app moved to /app-example/app.
➡️ /components moved to /app-example/components.
➡️ /hooks moved to /app-example/hooks.
➡️ /constants moved to /app-example/constants.
➡️ /scripts moved to /app-example/scripts.
📁 New /app directory created.
📄 app/index.tsx created.
📄 app/_layout.tsx created.
✅ Project reset complete. Next steps:
1. Run `npx expo start` to start a development server.
2. Edit app/index.tsx to edit the main screen.
3. Delete the /app-example directory when you're done referencing it.
MacBookAir start-app % 4.코드수정 / Code modification
✔️ 프로젝트 디렉토리 내에서 app 디렉토리로 이동합니다.
Navigate to the app directory within the project directory.
✔️ 기존의 index.tsx파일을 다른이름으로 백업합니다.(예: b_index.tsx)
Back up the existing index.tsx file with a different name (e.g., b_index.tsx).
MacBookAir app % ls
_layout.tsx	b_index.tsx	index.js
MacBookAir app %
✔️ 자바스크립트를 사용하기 위해서 index.js파일을 생성하고 아래의 코드를 입력합니다.
To use JavaScript, create an index.js file and enter the following code.
— tsx는 타입스크립트 파일입니다.
tsx is a TypeScript file.
— index.tsx라는 글자를 index.js로 수정했습니다.
I changed the text ‘index.tsx’ to ‘index.js’.
import { Text, View } from "react-native";

export default function Index() {
  return (
    <View
      style={{
        flex: 1,
        justifyContent: "center",
        alignItems: "center",
      }}
    >
      <Text>Edit app/index.js to edit this screen.</Text>
    </View>
  );
}
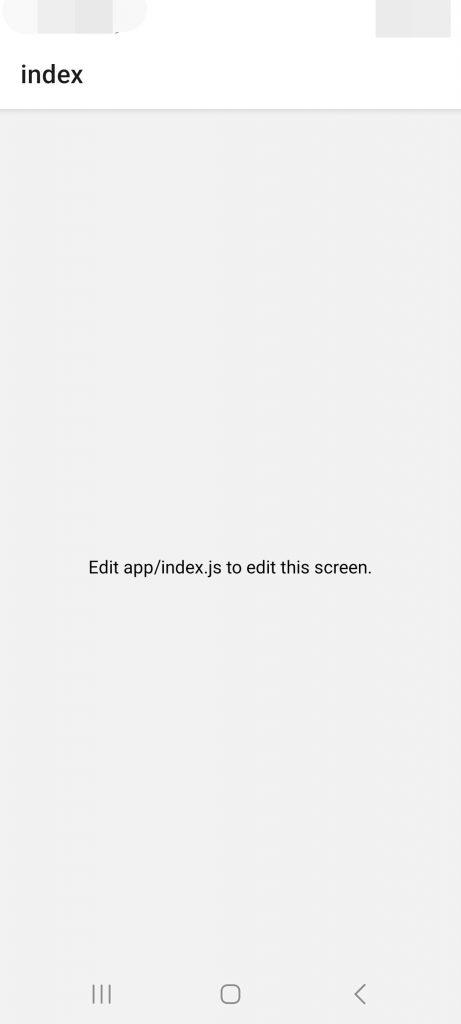
— Expo Go에서 확인하면 다음과 같은 화면을 볼 수 있습니다.
If you check on Expo Go, you can see the following screen.