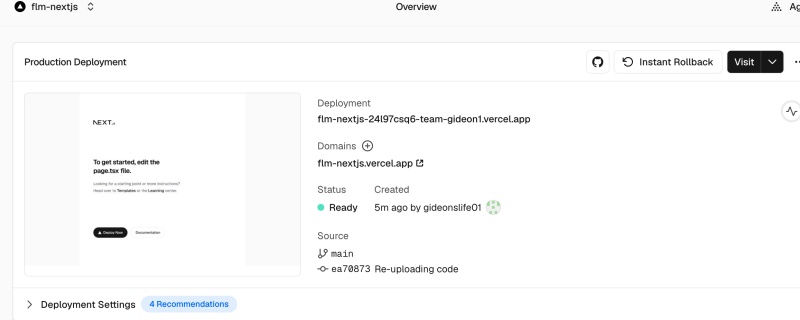
👉🏻 비지니스 사용자가 아닌 개인사용자의 경우 nextjs를 사용하면 vercel에 무료로 배포 할 수 있습니다.
Unlike bussiness users, individual users can deploy Next.js applications to Vercel for free.
👉🏻 참고로 nextjs는 vercel에서 만들었습니다.
For reference, Next.js was created by Vercel.
👉🏻 아래는 이전 포스트 myapp3프로젝트의 vercel 웹사이트 링크입니다.
Below is the Vercel website link for the ‘myapp3’ project from the previous post.
✔️ 앱 라우트 / App route
https://flm-nextjs.vercel.app/api/guestbookapp
https://flm-nextjs.vercel.app/guestbookapp
✔️ 페이지 라우트 / Page route
https://flm-nextjs.vercel.app/api/guestbook
https://flm-nextjs.vercel.app/guestbook-page
📁 vercel에 myapp3배포하기
Deploying myapp3 to Vercel
✔️ github에 이미 myapp3가 배포되어 있어야합니다.
myapp3 must already be deployed to GitHub.
✔️ vercel에 가입하기 / Sign up for Vercel
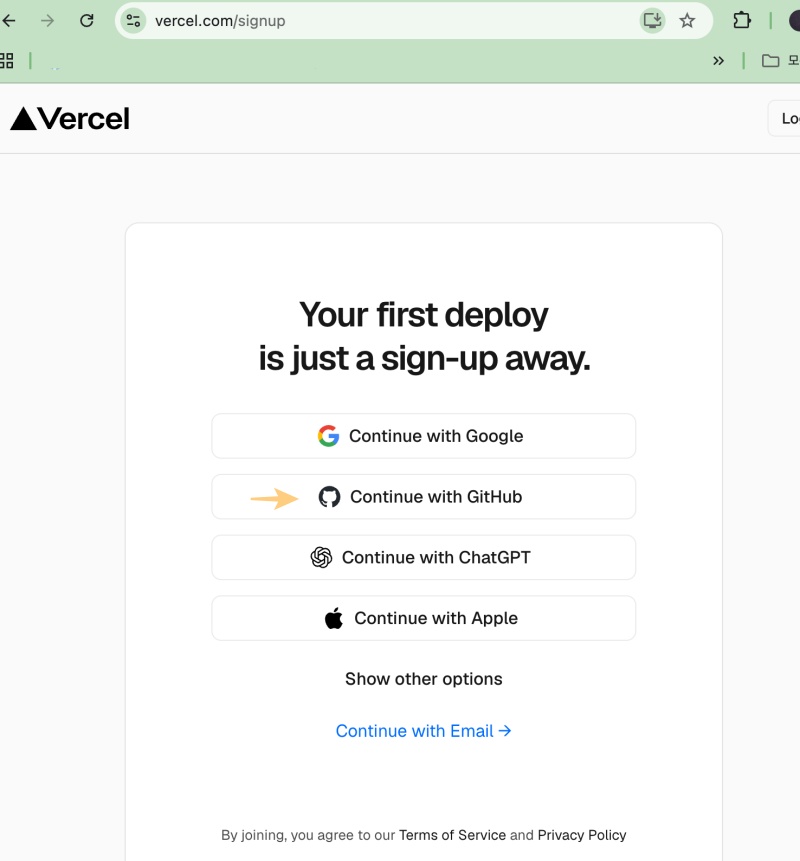
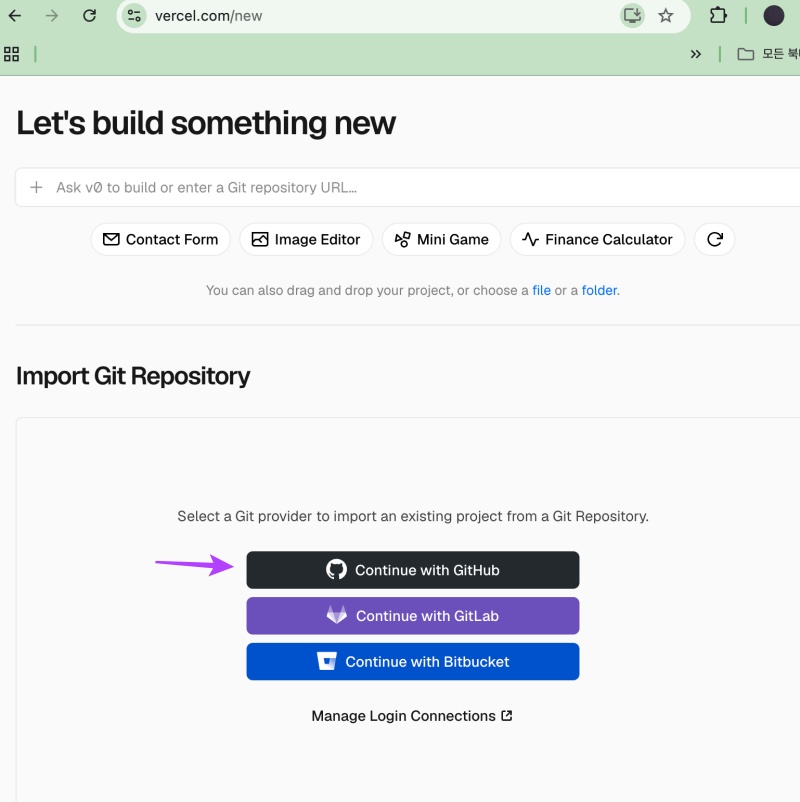
✔️ 회원가입 후 git 레포지토리를 추가합니다.
After signing up, add a Git repository.
✔️ nextjs에 있는 레포지토리를 선택합니다.
Select the repository for Next.js.
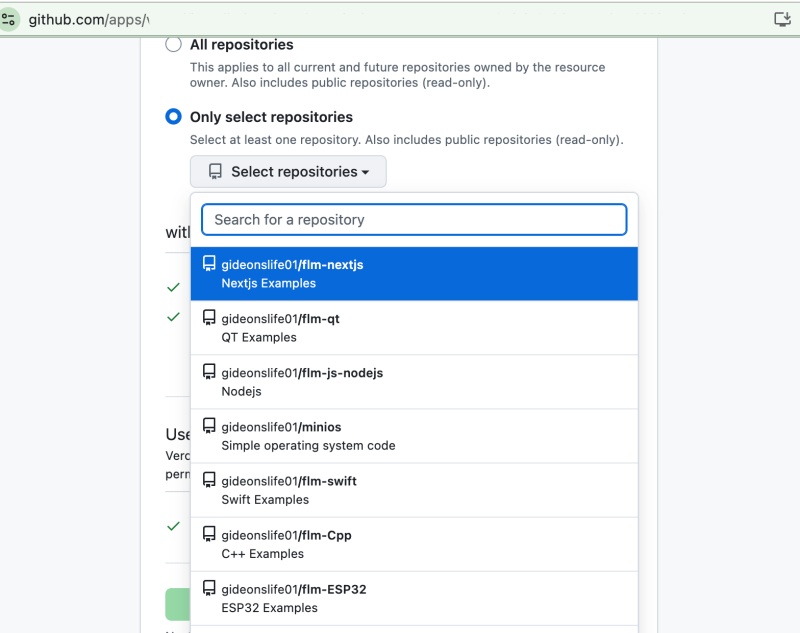
✔️ 선택된 레포지토리를 추가합니다.
Adds the selected repository.
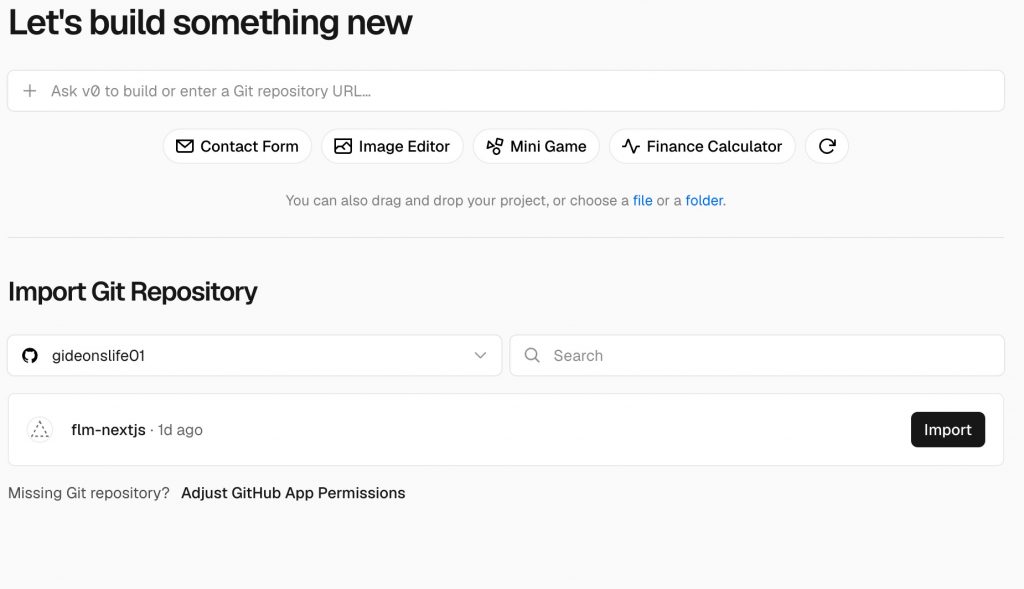
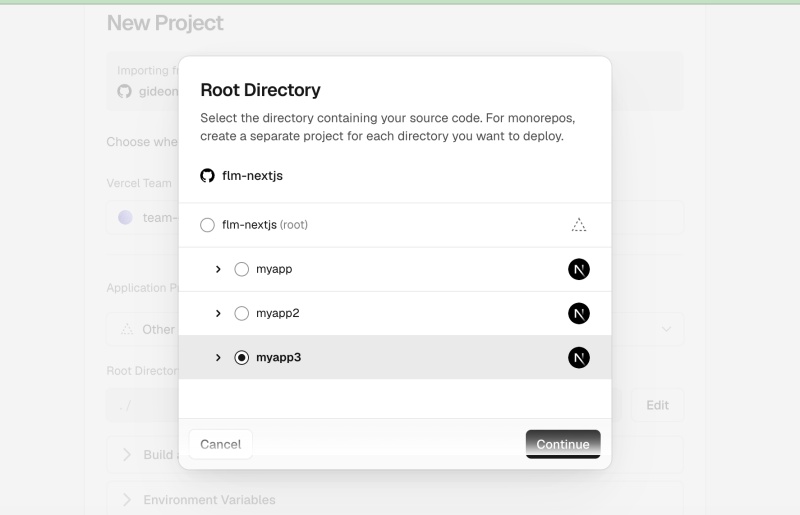
✔️ 레포지토리내에서 실제로 배포할 디렉토리를 선택합니다.
Select the directory within the repository to be deployed.
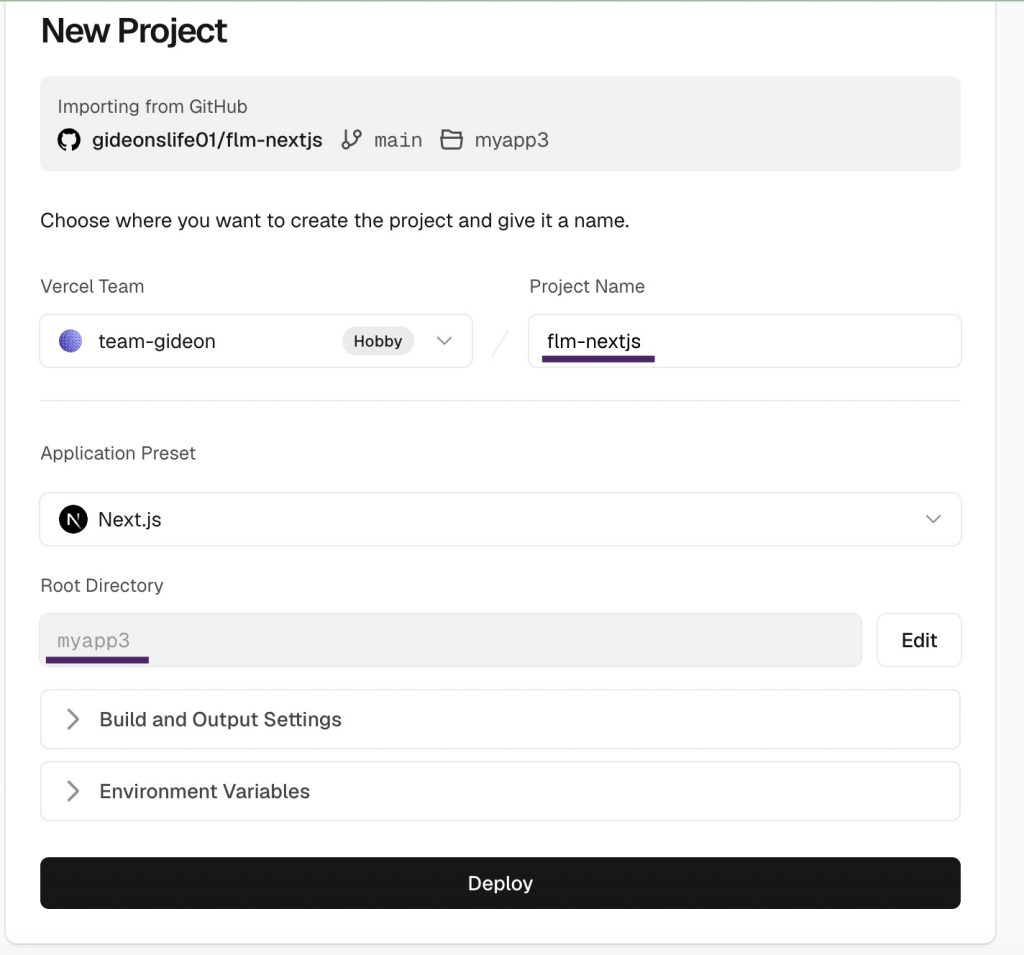
✔️ 레포지토리와 빌드될 디렉토리가 정확히 선택되었는지 확인합니다.
Verify that the repository and the directory to be built have been correctly selected.
✔️ 정상적으로 배포완료된 경우 입니다.
This indicates that the deployment has been successfully completed.
— 좌측 이미지를 클릭하면 배포된 웹사이트를 확인 할 수 있습니다.
You can view the deployed website by clicking the image on the left.