📁 Next.js는 화면 디자인부터 백엔드 API 서버 구축, 검색엔진 최적화(SEO), 웹사이트 속도 향상까지 한 번에 해결할 수 있게 만든 프레임 워크입니다.
Next.js is a framework that enables you to handle everything from UI design and backend API server development to search engine optimization (SEO) and website speed improvements all in one go.
📁 리액트를 더 편리하고, 더 빠르게 작동하게 만들면서 백엔드 기능까지 합쳐놓은 모던 웹 개발의 표준 프레임워크 입니다.
It is a standard framework for modern web development that integrates backend capabilities while making Act operate more conveniently and quickly.
📁 프로젝트 설치 / Project Installation
npx create-next-app@latestnextjs % npx create-next-app@latest
Need to install the following packages:
create-next-app@16.2.12
Ok to proceed? (y) y
✔ What is your project named? … myapp
✔ Would you like to use the recommended Next.js defaults? › Yes, use recommended defaults
Creating a new Next.js app in /Users/... /NextJS/myapp.
Using npm.
Initializing project with template: app-tw
Installing dependencies:
- next
- react
- react-dom
Installing devDependencies:
- @tailwindcss/postcss
- @types/node
- @types/react
- @types/react-dom
- eslint
- eslint-config-next
- tailwindcss
- typescript📁 프로젝트 실행 / Project Execution
✔️ 터미널에서 npm run dev를 실행합니다.
Run npm run dev in the terminal.
myapp % npm run dev

> myapp@0.1.0 dev
> next dev

▲ Next.js 16.2.12 (Turbopack)
- Local:         http://localhost:3000
- Network:       http://192.168.0.3:3000
✓ Ready in 174ms
✔️ 브라우저에 http://localhost:3000번으로 접속합니다.
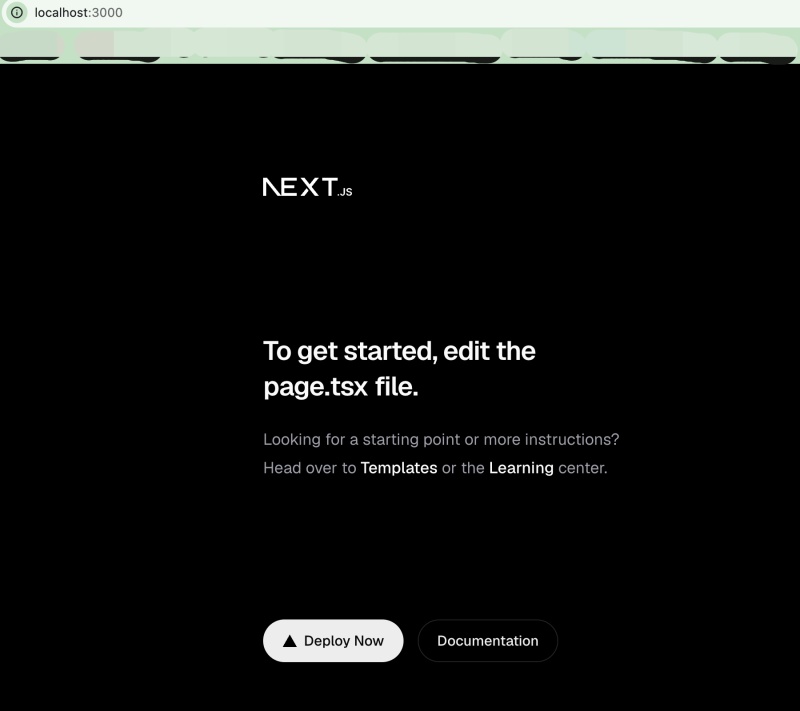
📁 프로젝트 디렉토리 구조
Project Directory Structure
1.app/:
- 홈페이지 파일 / Website files

- app/page.tsx: 홈페이지(메인 화면) 구성 파일입니다. 이 파일의 내용을 바꾸면 브라우저 화면이 바로 바뀝니다.
app/page.tsx: This is the file that defines the homepage (main screen). Changes made to this file are immediately reflected in the browser display.

2.public/:
- 이미지, 폰트, 파비콘 등 정적 파일을 넣는 곳입니다.
This is where you place static files such as images, fonts, and favicons.

3.next.config.ts:
- Next.js 프로젝트의 환경 설정 파일입니다.
This is the configuration file for the Next.js project.

4.package.json:
- 프로젝트 정보와 설치된 라이브러리 목록이 담긴 파일입니다.
This file contains project information and a list of installed libraries.
📁 메인페이지 수정해보기
Try editing the main page.
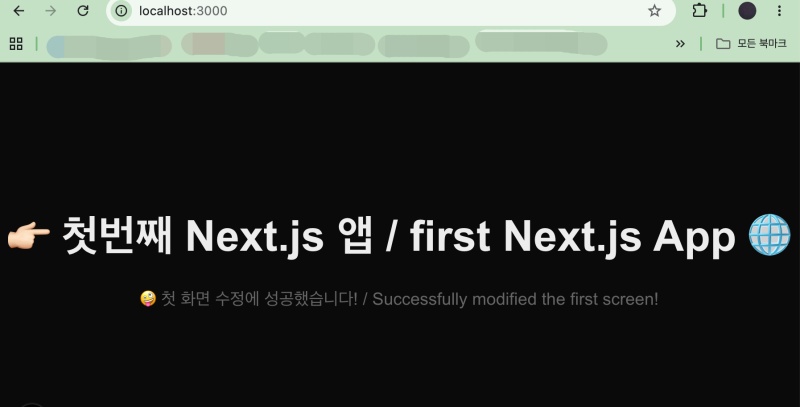
✔️ app 디렉토리내의 page.tsx파일을 아래와같이 수정합니다.
Modify the page.tsx file in the app directory as shown below.
import Image from "next/image";

export default function Home() {
  return (
    <div style={{
      display: 'flex',
      flexDirection: 'column',
      justifyContent: 'center',
      alignItems: 'center',
      height: '100vh',
      gap: '20px'
    }}>
      <h1 style={{ fontSize: '3rem', fontWeight: 'bold' }}>
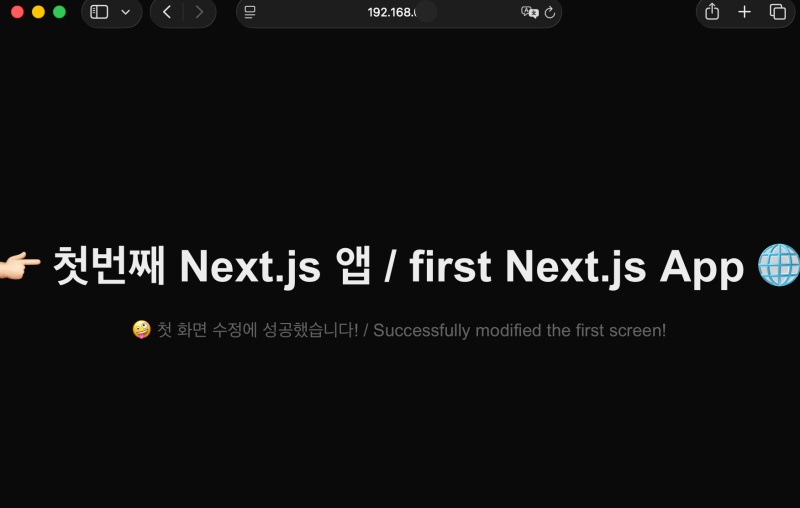
        👉🏻 첫번째 Next.js 앱 / first Next.js App 🌐
      </h1>
      <p style={{ fontSize: '1.2rem', color: '#666' }}>
        🤪 첫 화면 수정에 성공했습니다! / Successfully modified the first screen!
      </p>
    </div>
  );
}
📁 배포 / Deploying
✔️ 리눅스 서버에 배포하기
Deploying to a Linux Server
— 빌드하기 / Build
npm run buildmyapp % npm run build
> myapp@0.1.0 build
> next build
▲ Next.js 16.2.12 (Turbopack)
Creating an optimized production build ...
✓ Compiled successfully in 1020ms
✓ Finished TypeScript in 774ms
✓ Collecting page data using 5 workers in 148ms
✓ Generating static pages using 5 workers (4/4) in 165ms
✓ Finalizing page optimization in 4ms
Route (app)
┌ ○ /
└ ○ /_not-found
○ (Static) prerendered as static content
— 생성된 파일 확인 / Check the generated file.
myapp % ls -a
.			.gitignore		app			next-env.d.ts		package-lock.json	public
..			.next			CLAUDE.md		next.config.ts		package.json		README.md
.git			AGENTS.md		eslint.config.mjs	node_modules		postcss.config.mjs	tsconfig.json
— 서버에 필수로 업로드할 파일 및 디렉토리
Files and directories that must be uploaded to the server
.next
- 숨김 폴더(빌드 결과물)
Hidden folder (build artifacts)

public
- 이미지 등 정적 파일 폴더
Folder for static files such as images

package.json
- 실행 스크립트 정의 파일
Execution script definition file

package-lock.json 또는 yarn.lock
- 버전 잠금 파일
Version lock file
1)바로위의 디렉토리와 파일만 업로드 해도 됩니다.
You only need to upload the directory and file immediately above.
1) 하지만 편의상 node_modules 디렉토리 삭제하고 전체 프로젝트 업로드합니다.
However, for the sake of convenience, I will delete the node_modules directory and upload the entire project.
2)개발서버와 배포서버가 다른 경우 운영체제에 맞는 모듈을 설치해야하기 때문입니다.
This is because you need to install modules compatible with the operating system when the development server and the deployment server differ.
— 서버에 올린 후 실행하기
Running after uploading to the server
# 1. 서버에 프로젝트를 통째로 업로드한 후, 해당 폴더로 이동
# 1. Upload the entire project to the server, then navigate to that folder.
cd myapp

# 2. node_modules 폴더 삭제
# 2. Delete the node_modules folder
rm -rf node_modules

# 3.라이브러리 설치
# 3. Installing Libraries
npm install

# 4. 서버 실행
# 4. Running the Server
npm run start