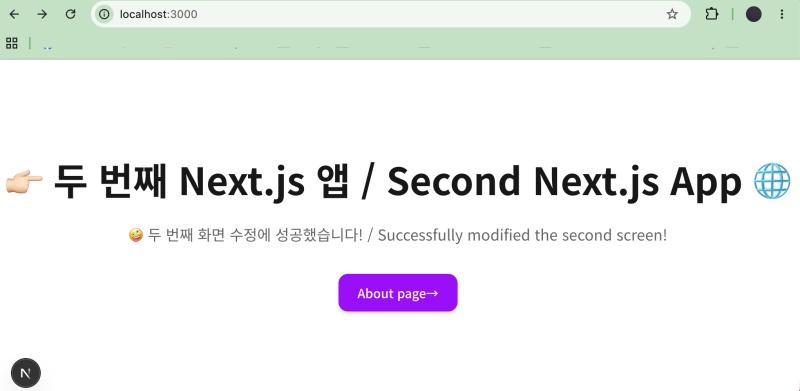
👉🏻 nextjs에서 폰트,타이틀,라우팅에 대해서 설명합니다.
This section explains fonts, titles, and routing in Next.js.
✅ github프로젝트는 myapp2입니다.
The GitHub project is myapp2.
https://github.com/gideonslife01/flm-nextjs
👉🏻 Nextjs에는 tailwind4 css가 적용되어 있습니다.
Tailwind CSS v4 is applied to the Next.js project.
✔️ globals.css
@import "tailwindcss";👉🏻 tailwind css 공식 문서는 아래의 링크를 참조하세요
Please refer to the link below for the official Tailwind CSS documentation.
👉🏻 페이지 타이틀 좌측의 가운데 삼각형 모양의 아이콘은 컴파일 표시기로 개발자용입니다.
The triangular icon to the left of the page title is a compilation indicator intended for developers.
👉🏻 페이지 좌측 하단의 가운데 N 모양의 메뉴는 개발표시기(Next.js Dev Indicator)로 개발자용입니다.
The N-shaped menu located at the bottom-left of the page is the Next.js Dev Indicator, intended for developers.
📁 설명 / Description
✔️ 기본 타이틀 변경
Change default title
— Layout.tsx
// 3. 페이지 타이틀 및 설명을 설정합니다. / Set the page title and description.
export const metadata: Metadata = {
  title: "두 번째 Next.js 앱 / Second Next.js App ",
  description: "Generated by create next app",
};
✔️ 한글 폰트 적용 / Apply Korean font
— Layout.tsx
import { Geist, Geist_Mono,Noto_Sans_KR } from "next/font/google";

... 중략 / omitted ...

const notoSansKr = Noto_Sans_KR({
  variable: "--font-noto-sans-kr",
  subsets: ["latin"],
  // 사용할 굵기 지정 (일반, 미디움, 굵게)
  // Specify the weights to use (normal, medium, bold)
  weight: ["400", "500", "700"],
});

... 중략 / omitted ...

export default function RootLayout({
  children,
}: Readonly<{
  children: React.ReactNode;
}>) {
  return (
    <html
      lang="ko"
      className={`${geistSans.variable} ${geistMono.variable} ${notoSansKr.variable} h-full antialiased`}
    >
      <body className="min-h-full flex flex-col">{children}</body>
    </html>
  );
}
— global.css
@theme inline {
  --color-background: var(--background);
  --color-foreground: var(--foreground);
  /* --font-noto-sans-kr 변수를 추가합니다 / Add --font-noto-sans-kr variable */
  --font-sans: var(--font-noto-sans-kr), var(--font-geist-sans), sans-serif;
  --font-mono: var(--font-geist-mono);
}

... 중략 / Omitted ...

body {
  background: var(--background);
  color: var(--foreground);
  /*font-family: Arial, Helvetica, sans-serif;*/

    /* 기존 Arial 대신 Tailwind의 기본 sans 폰트 규칙을 따르도록 수정합니다 /
      Modify to follow Tailwind's default sans font rules */
  font-family: var(--font-sans);
}
1)굵은 글씨로 표시된 부분을 추가합니다.
Add the parts marked in bold.
2)sans-serif는 폰트 다운로드 실패시 적용할 폰트입니다.sans-serif is the font to be applied if the font download fails.
✔️ 파일기반 라우팅 / File-based Routing
— project/app디렉토리 내에서 about 디렉토리를 만들고 디렉토리 안에 page.tsx파일을 만듭니다.
Create an about directory within the project/app directory, and create a page.tsx file inside it.
myapp2/
└── app/
    ├── about/
    │   └── page.tsx
    ├── favicon.ico
    ├── globals.css
    ├── layout.tsx
    └── page.tsx
— page.tsx파일에 아래의 코드를 작성합니다.
Write the code below in the page.tsx file.
// app/about/page.tsx
export default function AboutPage() {
  return (
    <div className="p-8">
      <h1 className="text-3xl font-bold text-blue-600 mb-4">소개 페이지 / About Page</h1>
      <p className="text-gray-600">안녕하세요! Next.js로 만든 페이지입니다.</p>
      <p className="text-gray-600">Hello! This is a page built with Next.js.</p>
    </div>
  );
}
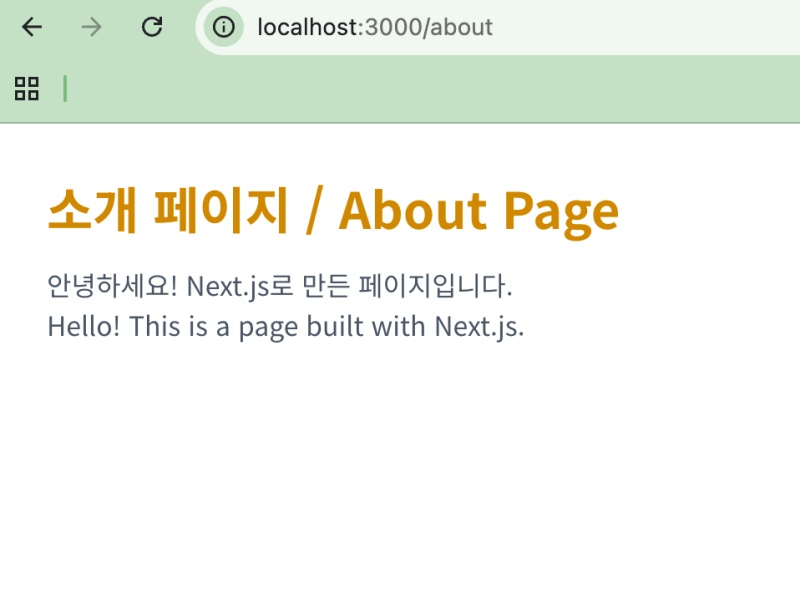
— npm run dev로 서버를 실행하고 브라우저에 http://localhost:3000/about을 실행합니다.
— 그러면 아래처럼 브라우저 화면에 about/page.tsx 파일이 실행됩니다.
Then, the about/page.tsx file will execute and appear on the browser screen as shown below.
— 이것을 파일기반 라우팅이라고 합니다.
This is called file-based routing.
✔️ 페이지 링크 / page link
— project/page.tsx
// Next.js의 Link 컴포넌트를 상단에서 가져옵니다.
import Link from "next/link";

... 중략 / Omitted ...

      {/* 2. Link 컴포넌트를 사용하여 이동 버튼을 만듭니다. /
          Create a navigation button using the Link component. */}
      <div className="pt-4">
        <Link
          href="/about"
          className="inline-block bg-purple-600 hover:bg-purple-700 text-white font-medium px-6 py-3 rounded-xl shadow-md transition-colors duration-200"
        >
          About page→
        </Link>
      </div>
1)page.tsx파일에 about디렉토리 내의 page.tsx파일의 링크를 만듭니다.
Create a link to the page.tsx file located in the about directory within the page.tsx file.